Followers

Showing posts with label keychain. Show all posts

Saturday, May 14, 2016

Keychain with Amazing Casting Products

Good day

I was gifted this lovely key chain a couple days ago and while I absolutely love it it's a bit heavy to put on my keyring.  You do know that too many things on your key ring is not good for your ignition right?  When your keys are heavy it weighs down on the ignition.  I really wanted to use this key chain, but don't want to wreck my ignition, so of course what do I do?  Yup Amazing Casting Products to the rescue because the resin piece will be super light weight!


First I mixed up equal parts of the Amazing Mold Putty and you can view mixing instructions HERE


After my mold was set which took less than 10 minutes
I mixed up equal parts of the Amazing Casting Resin with some 
the preparations for mixing HERE.


That set up within 10 minutes also.
I did run a little bit of Rub n Buff over the resin and
added some rhinestones. 


I love how this turned out and now I can proudly hang my 
car keys on it and not worry about wrecking my ignition.


Wednesday, June 24, 2015

Harley Davidson Keychain with Amazing Casting Products

Good Morning crafters,

I wanted to show you a keychain I made a while back for a friend of mine.  It was her birthday and she is a huge Harley Davidson enthusiast.  I had this awesome pin that I had gotten many years ago and she has always commented how much she loves my pin.  I, however, was not about to give it away, but I knew I could duplicate it for her.


I started with my Amazing Casting Products and the Amazing Mold Rubber and created my mold.  I then poured the mold with the Orange Dye mixed with the Amazing Casting Resin.  It was ready in about 5 minutes


Then I added some of the Alumilite Silver Metallic Powder.


If you get some in areas you don't want, you can always use a q-tip and some rubbing alcohol to get it off!


I drilled a small hole with my dremel and added a jump ring and keychain and voila!
She LOVED it!

I hope you've enjoyed my quicky keychain.

As always, have a great day and God Bless.

Wednesday, June 17, 2015

Bottle Caps and Amazing Casting Products

Good morning friends.

Today I am showing you a quicky.  On one of my recent shopping trips I came across these fun bottle cap stickers at Tuesday Mornings.  I got 3 different books and a few bottle caps for $7.  Nice!

This is one of the books.


I also created my own findings


Just peel off the sticker and apply within the bottle cap!  Easy peasy!


I attached my findings with some E6000.


I mixed up some Amazing Clear Cast Resin from Amazing Casting Products to pour into the bottle caps covering the image.  I mixed the two part Resin in a small cup and let it sit for about 10 minutes to get all the air bubbles out.  See how much clearer the 2nd mixture is?


See how nice this gets?


Here are all my finished bottle caps.  Now I will be making some necklaces and key chains.

I hope you've enjoyed my quicky.
As always, have a great day and God Bless!


Monday, February 9, 2015

South Dakota Bullet keychain

Good day friends,

I was recently asked to make a keychain for a client who wanted to commemorate his hunting in South Dakota.  I wasn't too sure if I could pull that off, but of course I would try.  After creating the keychain I was told I didn't use the right bullet, lol.  That just goes to show how little I know about guns and bullets.  Oh well, I'll try again...but here is how I did make the original.


I started out with a bullet and hot glued it to the bottom of a 2 oz measuring cup.  The bullet was just a bit higher than the cup so ...


... I added some painters tape around the cup and poured my Amazing Mold Rubber.  Amazing Mold Rubber is a two part silicon that when mixed together creates a fabulous pliable mold that can be used over and over again.  You can view a "how to" video HERE.


Here is just another view of the cup.  The process of setting up takes anywhere from 4 to 12 hours depending how small or large your "vessel" is.  This set up in a little over 4 hours.


I popped the mold out of the medicine cup and pulled my bullet out.  The mold rubber doesn't leave any residue behind and you can use your "vessel" over again.


Then I decided I wanted to make my bullet two toned just like the original so I "painted some silver Alumilite Gun Metal Metallic Powder in the bottom of the mold, followed by some Gold Metallic Powder.


I also mixed up my Amazing Casting Resin with the same Alumilite Gun Metal Metallic Powder.  
The Amazing Casting Resin is also a two part mixing process
and you can view a video HERE to see how that works.


While the resin is hardening I added a piece of wire half way into the resin and held it with a clothespin while it sets up.  It takes about 15 minutes to harden when you add the powders.


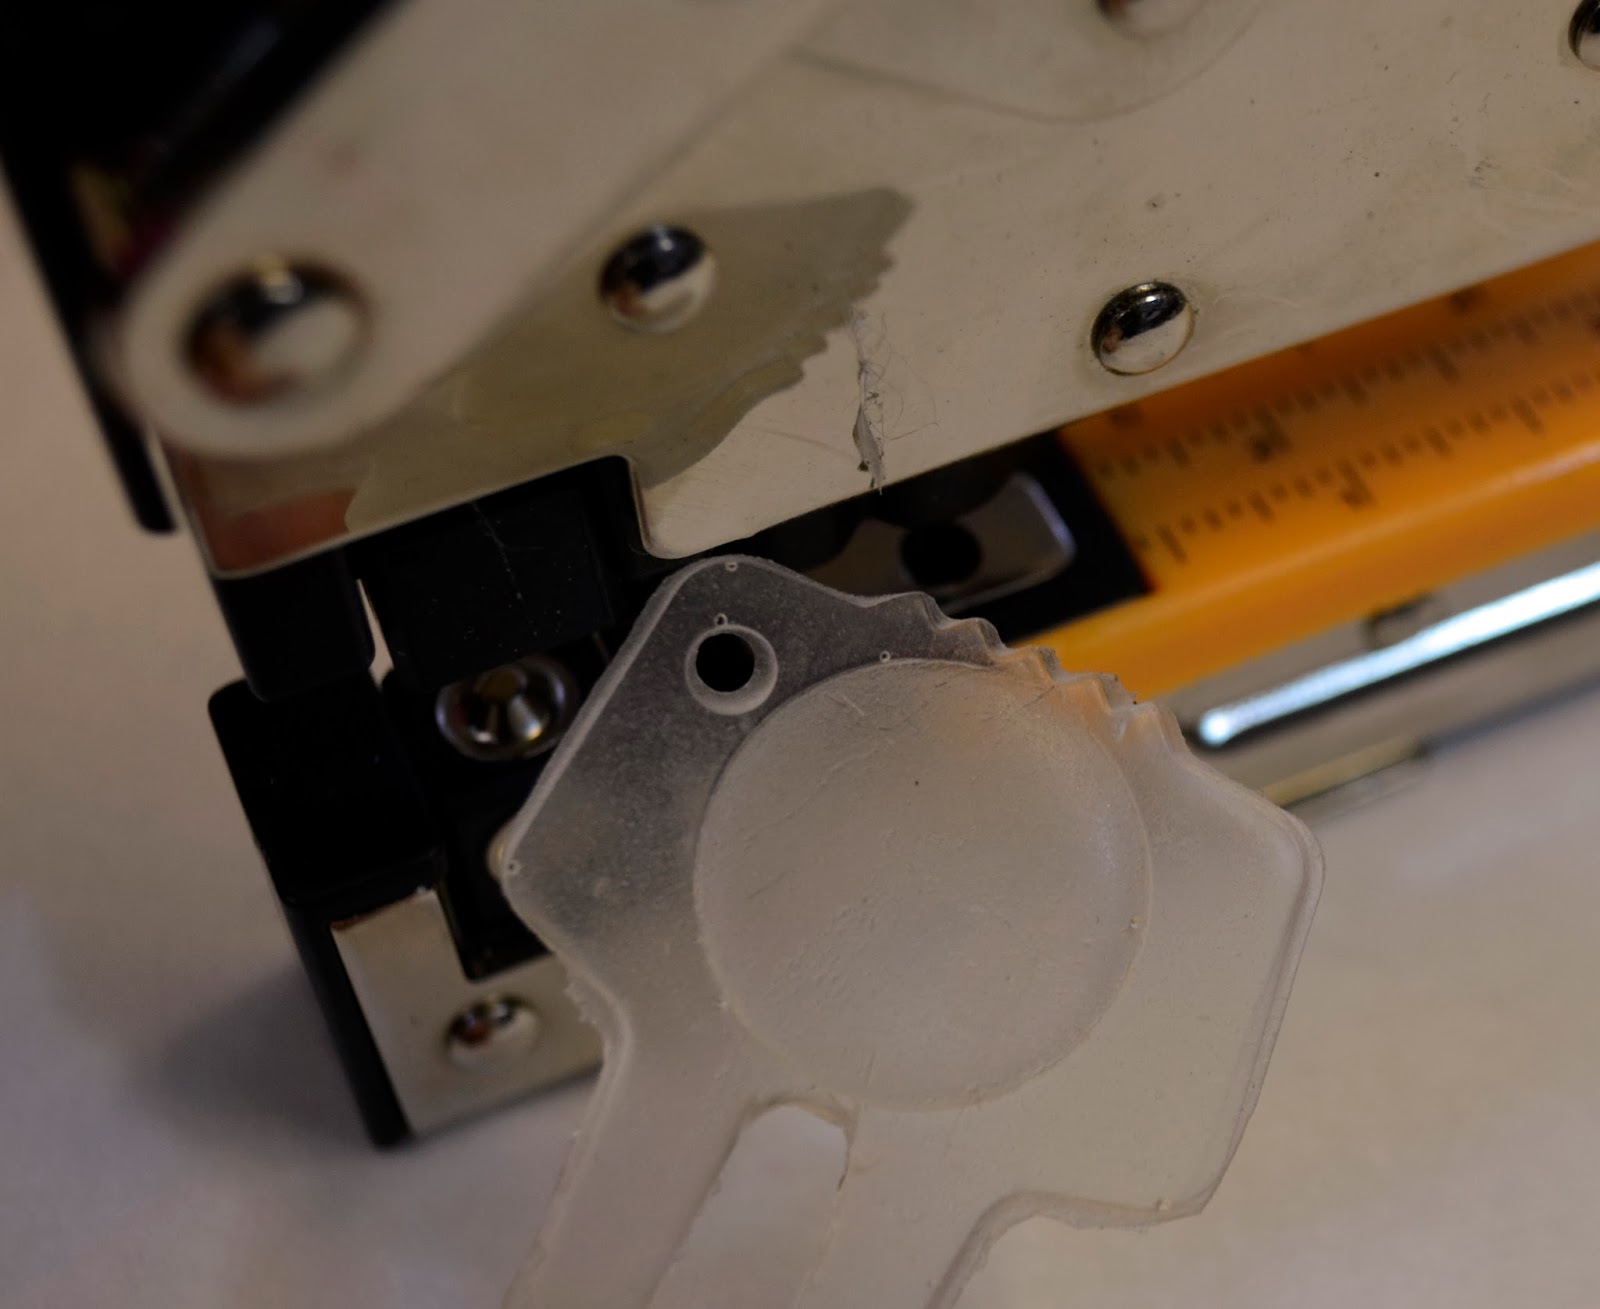
Now I needed to create the State of South Dakota and using my cricut and SCAL, 
I cut 6 pieces of chipboard and hot glued them together to give them some height.


I laid the bullet over the chipboard and with a pencil, 
I drew lines on either side to give it exact width.


and carefully cut it out one layer at a time with my exacto knife 
make sure not to cut ALL the way through the chipboard..


Then I molded it with my Amazing Mold Putty.  
This again is a 2 part process and you can view the video HERE.


Here is my mold.  


Now I mixed up the Alumilite Blue Dye with the Amazing Casting Resin ... 


... and poured my mold.


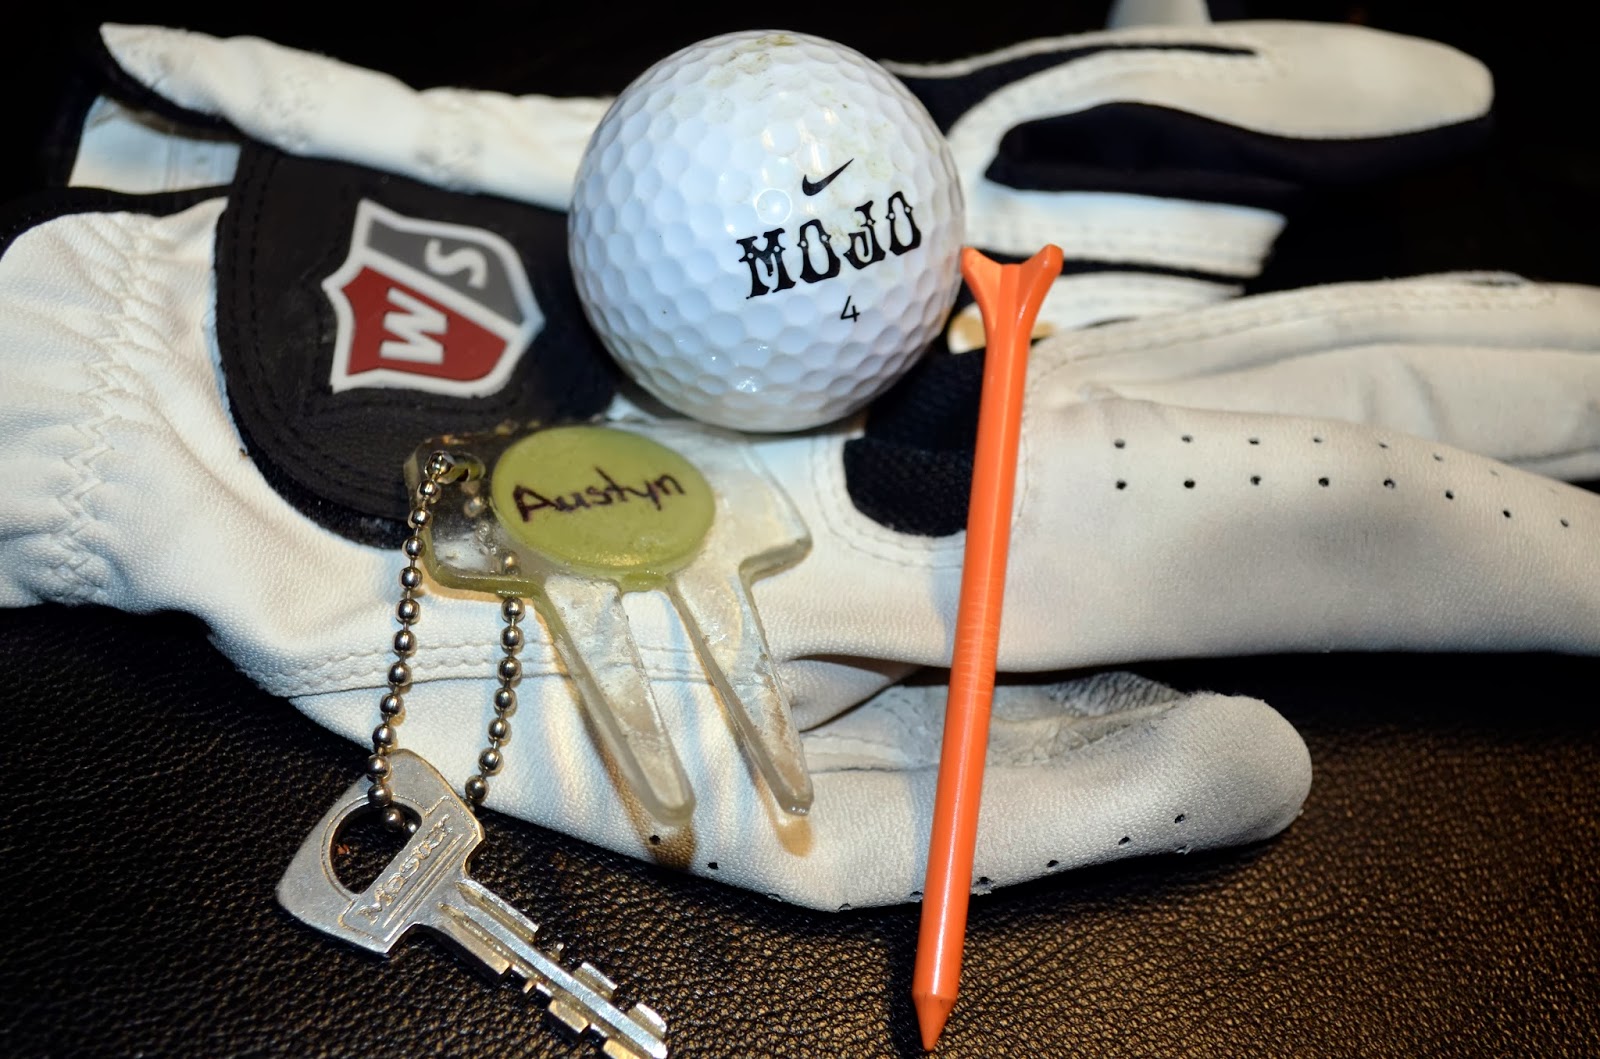
I glued the bullet to the well of the resin piece with E6000.  
Adding a rhinestone for some bling (maybe to depict where he had hunted) and a chain to create a keychain!


Like I said, after I created the keychain I was told that's not the kind of bullet you use to hunt with, but you get the idea, right?  I say it still could work, lol.  I will need him to give me the "correct" bullet and try this again!  Either way, I now have a wonderful mold of the bullet and the State of South Dakota!

What original keychain would you create?  Please leave me a comment and until next time, 
have a great day and God Bless.

Thursday, December 18, 2014

Hot Cocoa Mugs and keychains for Christmas


Good afternoon friends,

Just wanted to bring you a quick project I made this afternoon for my dart team.  Every year I like to give the girls on my team something handmade by me.  I've done ornaments, cards, key chains, etc.  This year I decided to do some glass etching and also another key chain.

I started out with some mugs I got at the dollar tree.  I love shopping there, there are so many possibilities with a little imagination!

A couple of years ago I made some hot cocoa bottles and you can see how the etching process works here.  This is what it looks like on my mugs
Photographing etched glass is somewhat tricky, therefore I placed a piece of paper in the mug so you can get the idea of the etched snowflake. 
I added some carmels, a hot cocoa packet and a candy cane to the mug.

It still wasn't enough for me, so I decided to make them each a keychain also. 
I started out with a mold that I made using the Amazing Mold Putty.  
I bought this stamp from Viva Las Vegas YEARS ago and still use it quite frequently.  
Some Stazon black ink and some flatback rhinestones should do the trick! 
Using the Amazing Casting Resin I made the tags, stamped my dartboard image directly onto the resin piece.  I redrilled the holes and added a keychain.  I also added the flatback rhinestone in the center where the bullseye should be with each girls' favorite color.  Now I hope they get the hint to hit that bullseye!  LOL  I'm just kidding.  We have a lot of fun throwing darts together! 
The dollar tree celophane bags come in very handy as a simple gift wrapping.  This way they can see what they got and not have to open it up at the bar.  Unless they really want to dig their keychains out!!! 

I'll be giving them their presents tonight and I'm pretty sure they will love them!

I hope you've found my quick project inspirational and I love reading comments, so please leave one.

As always, have a great day and 

Wednesday, March 12, 2014

Personalized Divot Repair Key Chain


Hi all, it's Wednesday and you know what that means?  I am here to show you another project I made over at Amazing Crafting Products.  Wednesdays have been AMAZING!!!

As some of you know my son is an avid golfer. If he could, he'd be on the golf course every day. It doesn't help that we live in subzero temperatures 6 months out of the year and he can see the golf course from our house. :)

He celebrated his 14th birthday in January, so I thought I'd make him a personalized keychain for his locker at the clubhouse.


I started out with a "divot fixing tool" (I'm sure there is a proper name for it, but I haven't a clue) that he got when he played at a tournament that was sponsored by one of the hospitals here in town.


It's made out of metal and has this cool dome shape with the hospitals logo on it. Instantly I knew this could be personalized. (whenever I make a mold of something and have excess I try to use as much of the Amazing Mold Putty as possible to keep from wasting it, therefore you see other shapes, but they were NOT used for this tutorial.)


I am so in love with the Amazing Clear Cast Resin,
so I decided on a glass looking keychain.


After about 24 hours the Amazing Clear Cast Resin has set up and I used my Crop-A-Dile to punch the hole nice and clean. Do you see how cloudy the "divot fixing tool" looks? Well just wait and watch the magic happen.


I then punched a piece of scrapbook paper (in his favorite color) and wrote "Austyn's" name on it. All of my kids have unique spelling of their names so it's very hard to find something personalized for them.

Thank goodness I can craft. LOL!


Using more of the clear cast I adhered the punched circle to the BACK of the keychain so the name shows through the front and sealed it. This also helps to make that cloudy look go away. It doesn't take that long to dry when you use moderate amounts of the it.


I added a ball chain to the "divot fixing tool" and his key and he's ready to go to the clubhouse... 
in another couple of months or so...


I hope you've enjoyed my personalized gift for my son.

If you personalized something, what would it be?

As always, have a great day and God Bless.