Followers

Showing posts with label Steampunk. Show all posts

Friday, May 13, 2016

Steampunk redux container

Good day

I just wanted to share a quick post of something I made yesterday for myself.  

A friend of mine gave this container to me a while back because she enables my hoarding addiction.
LOL
I love to repurpose things and little containers are my favorite.


So I started out with gesso ing the container.  One coat worked well.


Then I painted it purple.  My all time favorie color


Then I added some washi tape and my resin gears.  
I just used what I had on hand because I always have extra resin pieces laying around.


You can go HERE and see how I created my gears with my favorite Amazing Casting Products.


I even added some washi tape to the inside of the container.  The inside will hold all my push pins.


Now I wasn't sure how I would hang this, but of course in my hoarding of all stash I had some hook and loop tape.  Eeasy peasy hanging on the wall!


and here it is.  Now I just need to use my corkboard, LOL

I hope you've enjoyed my inspiration of redux container.  I love comments, so please let me know what you think of my idea!
Until next time, have a great day and God Bless.

Monday, April 20, 2015

Get Creative Challenge #13, Lacy Sunshine Steampunk

It's the 3rd Monday of the month and time for me to show off another card I made for the Get Creative Challenge blog.  I've had so much fun so far being on the design team.  

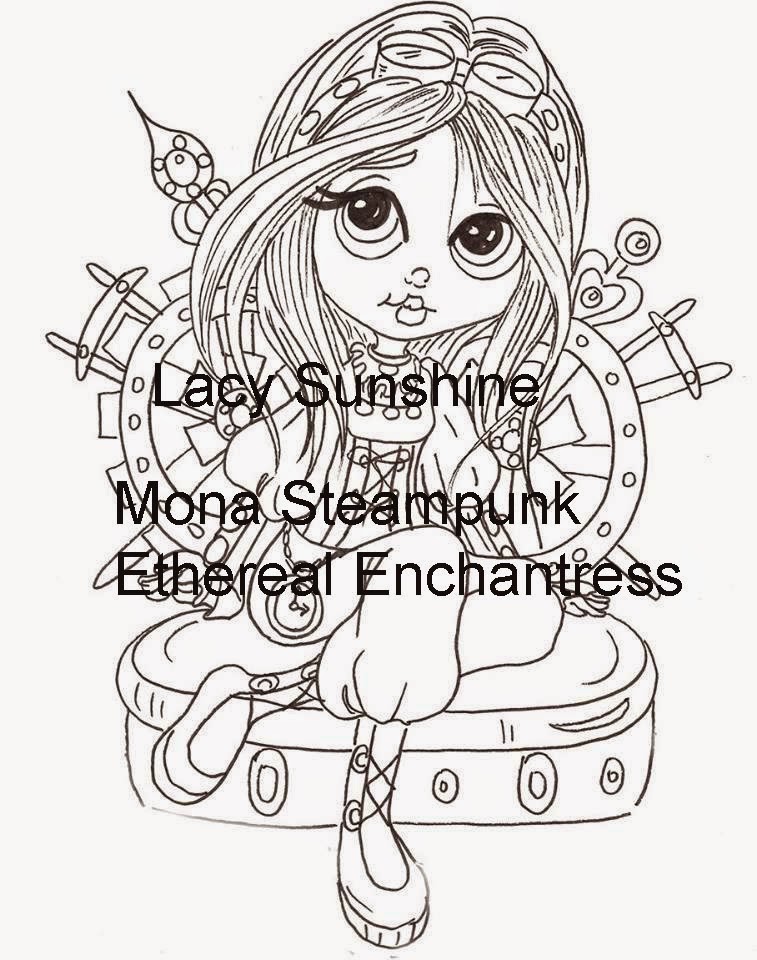
Here is the image I chose for this month's challenge which is using Pink, Purple and Green in your project.  Two of my favorite colors, yeah ME!!!

 And here is my card:

I colored her with various inks, chalks and markers.  (I'm still new to using digi stamps and hope to get some cool markers to play with).  What would you recommend I purchase?  Oh yeah, I also gave her a pink stripe in her hair because if I could, I would!
Of course I also used my Amazing Casting Products to mold my gears and added a bit of bling to them and also colored them with alcohol inks.


Here is a closeup.  I also used the Sizzex folder to create the background that I embossed with my cuddlebug on metal tape and then colored with alcohol inks in pink, purple and green.  I love this technique.  Then I pop dotted Mona Steampunk Ethereal Enchantress to the card base so that she became the focal of the card.  I did not add a sentiment this time because this card could mean anything to anybody.  
I love the grunge look of this card.

I hope you've enjoyed my card and please hop over to Get Creative Challenge blog and join us!  Remember though, you must use the colors Pink, Purple and Green on your project.

As always, have a great day and God Bless.

Friday, January 9, 2015

Paper Punch to Resin Steampunk Necklace

Good day friends

Today I have a tutorial for you showing what imagination can create.

I started out with a punch that I borrowed and wanted to use over and over again.  I started by punching silver duct tape.  You can buy this at any hardware store.  It's sturdy and has sticky tape on the back.  I punched it once the right side and then the wrong side, thus having two pieces with sticky on opposite sides.  Then I punched some chipboard, actually a cereal box.  I then taped the three pieces together giving me close to a dime thickness.

Now here comes the preserving of this punched element.  
I tacked the punched piece down with some repositional tack into a glass butter dish.  
Make sure you spray your item with some sort of release agent.  I used the UMR Mold Release also available from Amazing Crafting Products.
I have no use for this mold anymore so I decided to REMELT it.  
That's what I love about this product, no wasting the mold!   
I cut it into for sizable chunks and using my Amazing Mold Putty "cup" 
I remelted it in the microwave for about 20 seconds ...
and poured my mold. 
and here is the finished piece.  I carefully peeled it out of the mold and was pretty happy with the outcome.  Some of the pieces didn't have enough depth to create the "holes" the punched produced, but I can always make the original punched piece thicker and REMELT and try again.  
But for now I knew I could still use the piece for something ... 
Here is the piece after it was molded with the Amazing Clear Cast Resin and Alumilite Metallic Powder.  You can see that the punched out pieces are not defined enough,  
but rest assured, I will do this again just a bit thicker!
I received this mold as a gift and decided I was going to create a steampunk necklace.  Totally in love with the idea.  I used my Amazing Casting Resin and the Alumilite Metal Metallic Powder to create my gears, key holes and keys. 
I layed my gears onto the molded punched piece 
(you can see that those gears fit almost perfectly onto it)
to find the proper placement, added some chains and gluing 
everything down with E6000 I came up with this!
I also added some red flatback rhinestones with E6000 to glitz it up a bit!
What do you think? 
I love this necklace and cannot wait to find a reason to wear it!

Now remember, just because the original idea didn't work, doesn't mean you can't recreate it using the Remelt production or you can just go with what you have and go into a total different direction!

I'm glad you stopped by and please leave a comment and let me know what you think of my tutorial today.

As always, have a great day and God Bless!

Sunday, September 21, 2014

ABAC Week 39 - Steampunked Key to my Heart

Good morning friends,

It's time for another ABAC challenge.  I will tell you right off that when I was told we were doing Steampunk, I went into panic mode.  See, I like the look of Steampunk, but I have NEVER done anything Steampunk.  I actually had to go out and search if there were any dos and don'ts.  I didn't find any, so with that being said, here is what I did:

I started out with a key that I recently acquired from a very dear friend of mine who is moving.  I found some odds and ends in my stash of resin pieces and things I hoard and started to play
I also created the wings from this mold I made with the Amazing Mold Putty.  I painted them with a mixture of Alumidust in gold, deep red and bronze and 3d crystal lacquer. 
You can see what I did with this mold from a previous project here.
I twisted some wire, found a circle thingy and added a bead cap.  Painted a spiky thing with a mixture of Deep Red Alumidust and the 3d crystal lacquer and wrapped some wire around it.  The heart was also from a mold I've had for a very long time that I found in my resin stash and it fit perfectly to my key.  Everything was glued on with E6000 or wire wrapped.  I added a bit of white tulle to give it a little softer feel and viola, Steampunked I did!  


I added a pin back to my key and now whenever I wear it I will think of my dear friend Dixie who definitely holds the Key to my Heart.  I'm actually pretty happy with my  - Steampunked project.

Head on over to ABAC and link up with us.  Remember the rules:
Steampunk
Anything But A Card
Have FUN!

I really love comments, so if you would be so kind, please leave me some feedback and tell me what you think of my Steampunked pin.