Good day crafters,
Do you ever go to bed at night and you cannot sleep because you have a million craft ideas running through your head? Well last night was one of those nights for me. I have a dozen projects on my table right now and about 2 dozen running through my head. I've been on a crafting frenzy the last week or so. I spent 2 evenings cleaning and sorting my craft room because it really needed it and in turn found a bunch of things I had purchased or acquired, who knows how, to make something with. Two of those finds turned into this tutorial today.
As I was cleaning I found a bag full of little Scentsy containers. A friend of mine used to sell Scentsy and when she quit, she gave me the entire samples kit.
She thought I would be able to use those little containers for my beads, findings, etc. Little did she or I know what I was really going to do with them until last night. I could hardly sleep because I was so excited. So let's get started:
First off I knew I was going to use my Amazing Crafting Products. Actually a mold I had already made a while back. It was just small enough for this project and I wasn't even sure it was going to work. Experimenting should be my middle name. I created this mold from an old pendant and I'm not even sure I took pictures of the original piece. In fact, I did try to go through all my pictures (must find a new way to sort these projects) and I could not find it. Sometimes I get lost in creating and forget to take pictures...I should know to ALWAYS have my camera available. So anyway...
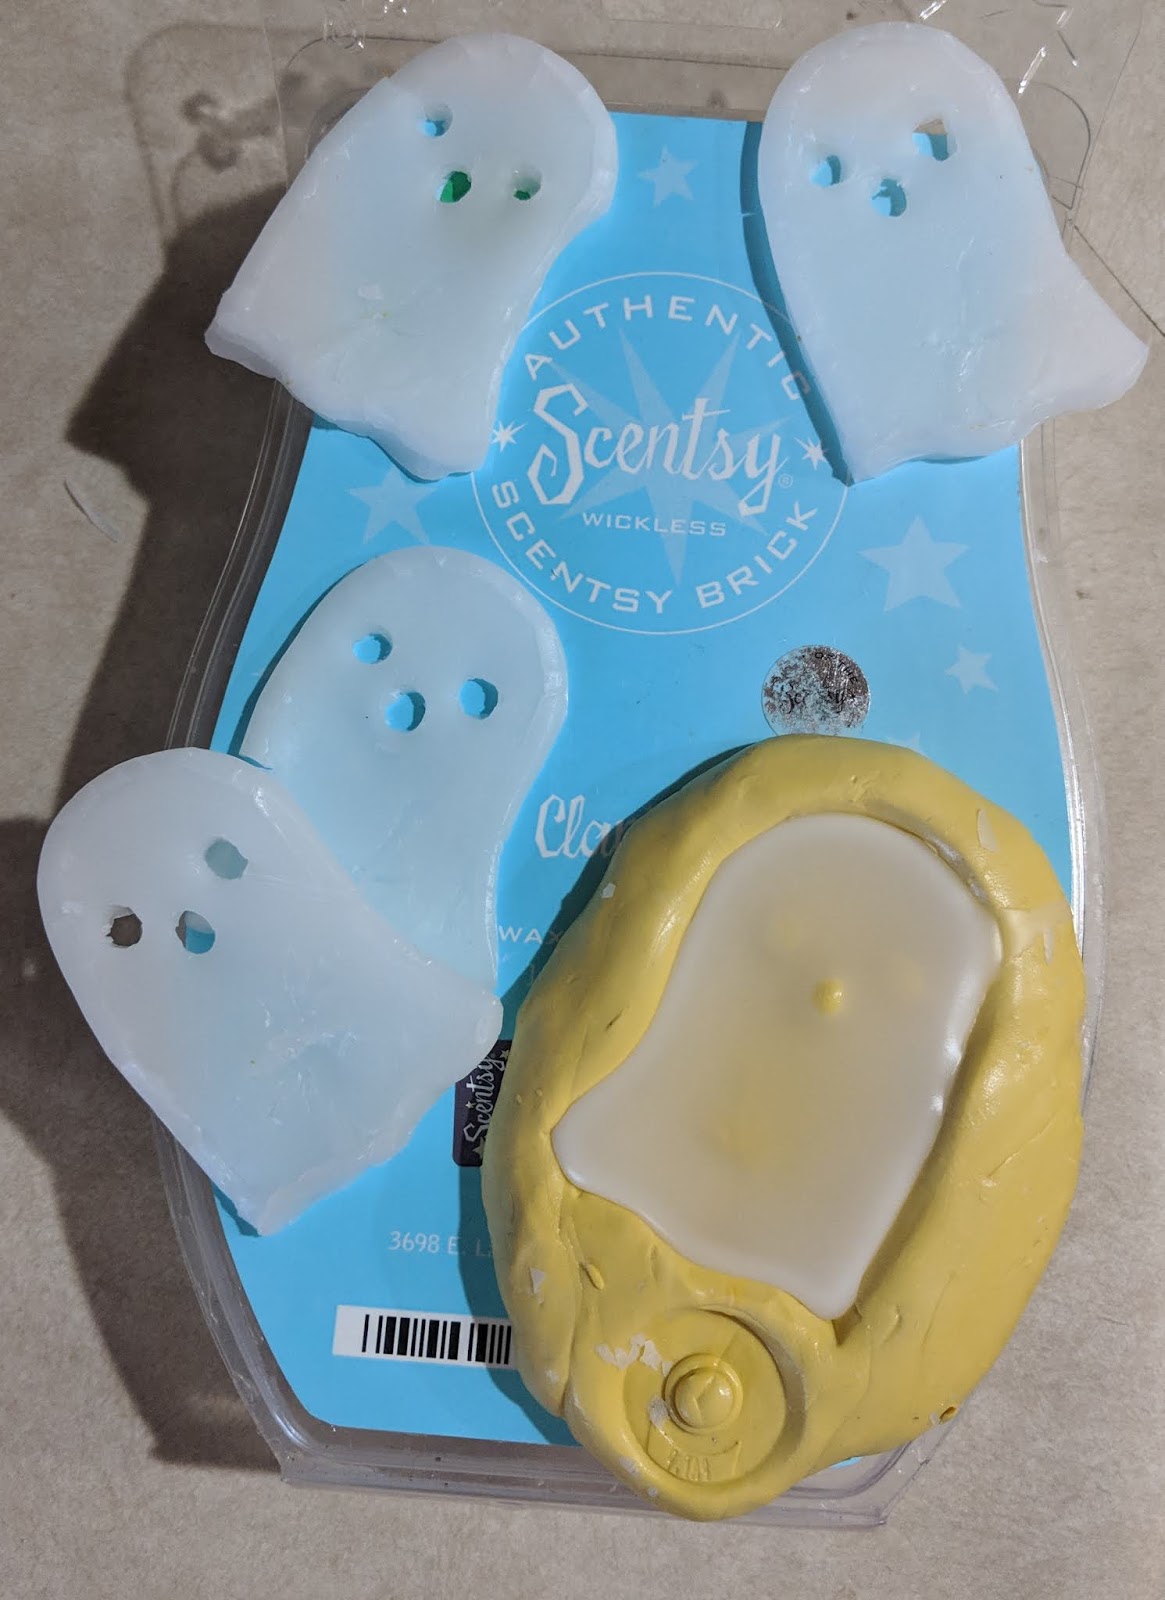
Here is the mold
Here is my Scentsy container and my personal melting container.
So I just took the melt out of its container and began the melting process.
Make sure to blow out your candle before tipping the melting container to pour your melted wax.
(Don't ask)
and pour. This melts pretty fast and dries almost just as fast.
I remelted the remnants of the wax and once my first pour was hard, I poured again
Here you can see a closeup of the hardening process.
Repoured the second time (being sure to take the tealight out of the holder).
You will still have a bit of wax left in your container,
but I just used a paper towel and wiped it out.
Now I have two lovely melts ready for gift giving.
And a container to store some beads, findings, etc. in.
I put the two melts into a baggie, located a tea light and the melting container I bought at the Dollar tree that I also found while cleaning.
I did take the sticker off the original Scentsy container and put it on my baggie so the person who receives this adorable gift will know what scent it is, but you could make your own tags.
and packaged it up
for gift giving.
I even have someone I want to give this to already.
I will just make her a quick card today and my gift is ready!
Oh yea, and so inexpensive. If you had to purchase some melts
(I know the Dollar tree has some)
and your tea light container this project would cost you around $2.
Actually if you broke it down even further maybe $1.50
since you could make at least 2 gifts.
I hope you've enjoyed my cheap and easy tutorial today and hope you leave me a comment telling me what you think of today's project.
As always, have a great day and God Bless.