Followers

Showing posts with label Golf. Show all posts

Saturday, January 24, 2015

Evolution

Good Day Friends,

today is a special day as it is my youngest son's 15th birthday.  I cannot believe how fast time goes by.  He has grown into such a special young man.

Many of you guys know he's an avid golfer.  He's come so far in the last couple of years.  As a freshman he qualified for the Varsity golf team.  He did quite well in a lot of the tournaments last summer!  Because of where we live he's taking indoor lessons over the winter months to keep his game sharp.  It's kinda hard to golf in 20 degree snowy weather.  His coach praises him quite a bit!  He's gained a lot of strength and that should help his swing even more this summer.  I couldn't be prouder of him.

Anyway, I wanted to make him something for his birthday golf related...I know, I do that quite a bit.  I get enjoyment out of creating for him and he actually seems to love what I do!

I had seen a plaque a while ago and put it into my "to do" file.  I actually had forgotten all about it until I was going through some pictures looking for something in a particular.  Needless to say, I didn't find what I was originally looking for, but I did find a picture of the plaque that I wanted to recreate.  This is the picture of the plaque I saw, but I did want to change it up a bit and
here is how I made it:
I searched "evolution" in google and found this image
and added it to my SCAL2 program.

I searched "golfer" in google and found this image
and added it to the first image in my SCAL2 program.

I wrote out the word Evolution ... and added that to my image
 in SCAL2 and grouped everything together.


I searched "fairway" in google and found this image
and printed it out at home.

so from this

to this 

Cutting everything with my cricut and SCAL2 in black vinyl all at once
I added it to the front of the glass of a simple picture frame and together I created this.


I just love how this turned out.  

I hope you've enjoyed my quick and easy peasy birthday gift for my son.

As always, have a great day and God Bless!

Sunday, September 21, 2014

Fore! Sucker Favors

Good day all and happy Sunday,

So ... you all know that my DS is a golfer and I love making things for him, but I also forget that he is now a Freshman in high school and doesn't want mommy making him things to take to school.  He still wants me to make things for HIM alone, but taking things for his classmates (in this case) his golf team was NOT going to fly.

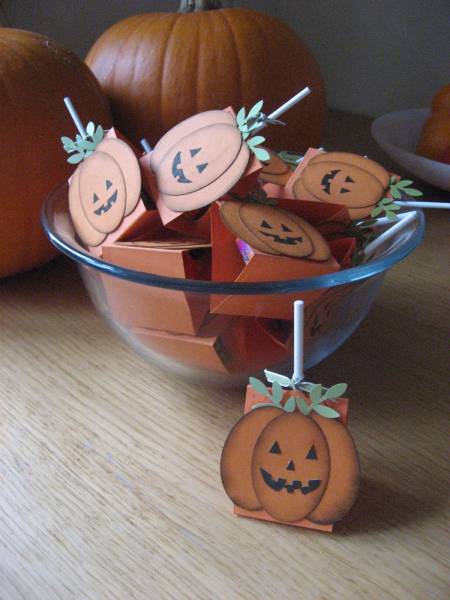
How this all came about was I was on Pintrest (my addiction, I pin ALOT, but hardly make anything) and the other day and saw these cute Halloween favors.  Aren't they adorable?  Now she didn't have a how to tutorial here, but I think it's pretty self explanatory on how to make these.
                                                    
Well, that got me thinking, I could make something for his golf team using this general idea, so off to my craft room I went.  I haven't paper crafted in a quite a while and actually shopped my stash and this is what I used.
Supplies:
Maroon (Highschool colors), white and black cardstock.
Google eyes
Green ribbon
Stamp
Sucker
Tools:
Scissors
SCAL
Scoreboard
Gluedots 
Using my SCAL program I made 4 pieces of rectangles 6.25 by 2.75 and added to circle cutouts on each end for the ribbon.  
Then I scored them at 2.5 from each end 
I also cut 4 circles at 2 inches 
This was a super duper find on my recent "junk-ing" trip at Savers.  All three stamps made by Stampin Up for $2.99, FORE, uh I mean SCORE! 
I used the Fore Stamp for the mouth after highlighting the edges a bit with my black inkpad. 
I kinda think this was ingenious if I do say so myself.
Then pop dotted my googly eyes eyes and free hand cut out tiny triangles (not uniformed at all) and attached them also with glue dots.  I glued them onto the base of the maroon cardstock holder and tied a green ribbon to hold them shut.  
And here you have them.  
Now I showed the first one to my DS and he said "cute mom, but please don't make them for the team!"  I wonder how he knew that that was my intention, hehehe!  I guess high school boys don't want golf sucker holders.  So instead, Coach has FORE (4, seriously) little children, so I will be giving them to him to give to his kids.

I really do love how they turned out and this project took me maybe half an hour.

I will be entering this project over at Decorate to Celebrate for their Anything Goes challenge.

Monday, September 8, 2014

Golf Pin to Golf Tie Tack

Good morning crafters,

It's going to be a busy day for me today.  I've got payroll to do, then off to replenish my Hallmark stores and then off to our Golf Pot Luck this evening.  I'm pretty excited to be showing off hubby's new tie tack I made, but I kinda doubt he's going to wear a tie tonight, he'll probably wear it to the Golf Banquet though.

So let me show you what I made:

Susan, my friend and the design team leader from Amazing Crafting Products sent me a few things a while back she thought I might like.  In this fabulous box of goodies there was this gorgeous Golf bag pin.
 It's gold and the golf bag has mother of pearl (or at least looks like it) laid in it.  Now Susan did not know this, or maybe she did, but Mother of Pearl is my birthstone, so I was even more excited to have received this gorgeous pin.  I knew it would be going on my golf cap immediately and it's been there ever since, until now.  I know we will eventually be having a golf banquet so I thought it would only be fitting for hubby to have a golf tie tack.  (I'm assuming the banquet will be formal?  And if it's not he wears a tie to work everyday anyway so he can wear it then).

So off to gather my supplies:  Amazing Mold Putty to create my mold.  I try to make bigger  molds and add a few things together.  These are acrylic pieces off of a plastic necklace you can get anywhere.  I just cut them apart and I will be showing you a few things I made in the next couple of days/weeks.
See the golf pin to the right?


 Here is the mold after I took all the pieces out.

I dusted in some bronze Alumidust for the bag and Pewter Alumidust for the clubs and latch.  This works very well when you want two tones in one item.  You don't have to paint them afterwards.  I then filled the mold with Amazing Casting Resin with a couple drops of  black Alumilite Dye 
Cool huh? 
I added a tie tack back to the back of the bag and now hubby can wear his new tie tack whenever he wants and I will be putting my golf bag pin back onto my lucky golf cap where it belongs.

I hope you've liked my post today and I would love to hear what you have to say.  Leave me a comment and tell me what you would mold if you had the chance to mold ANYTHING?

As always, have a great day and God Bless.

Saturday, August 2, 2014

Personalized Golf Glasses

Good morning crafters,

I am here today to show you how lucky you can be sometimes.  Well, it's really not that big of a deal, but I'm so super excited.

As most of you know we went to Florida this past May on our family vacation.  We stayed at a beautiful resort near St. Augustine and had a wonderful time.  We went to The Players Golf Tournament and had a fantastic time there also.  At our resort I wandered into the Clubhouse and spotted these amazing glasses that had a raised glass golf ball in the inside.  I so wanted to get them for my guys, but my vacation money was running out and at $20 a PIECE, I just couldn't justify it.  I was so bummed, but we can't always have what we want.  Here comes the best part of this story...yesterday I went junking.  I love going to thrift stores and such and mostly I browse, but yesterday I made a fabulous purchase, actually I made several, (ssshhhhh).  I found these
Identical to what they had in the Gift Shop at the clubhouse.  Want to the know the better part of this story?  Both of them together cost my $1.50.  YES, 75 cents a piece...I'm doing a happy dance.
So, of course I scooped them up immediately and went home and did this... 
I knew I wanted to personalize them so I took some of my scrap vinyl and cut their names with my cricut out with Arial Rounded MT Bold, nothing fancy, just nice letters. 
Placing them nicely on the glasses and 
using my Armour Etch, (you can buy this at Hobby Lobby and if you use a 40% off coupon it will cost you about $13 and you can use it over and over and over), LOVE< LOVE> LOVE> this product.  I painted the etching cream onto the glasses.  Depending on what you are making you may have to do this in sections especially if it's a round object because it does run and you DO NOT want to get any etching cream anywhere on your project except where you intend it to be.  Seriously, even a split second of touching the etching cream anywhere on the glass surface will leave a mark.  Also make sure you use some rubbing alcohol to clean your glass before etching to get any oils from your fingers off.
After only about 5 minutes your cream is ready to be wiped off.  I've been etching glasses for at least 5 years now and have never had to wait for more than 5 minutes.  I simply wipe the cream off with my finger and scrap it back into the bottle.  I've had this bottle of etching cream for about 2 years now and it still works as great as it did the day I opened it. Actually the longer you have your etching cream and depending on how much you use it, it get thicker and thicker and you will have less problems with it "running" on your surface.
And here is my finished project.
Now Steve can go have a gin and tonic while Austyn has a Powerade and they can enjoy watching a golf tournament on tv, as there is ALWAYS one on. 
They both love their glasses (I should have waited for Christmas to give them to them, but I couldn't contain my excitement) and I'm thrilled it only cost me $1.50.  YEAH!

I hope you've enjoyed my post today and make sure to come back over the next couple of weeks because I have some more junking finds to share with you.

As always, have a great day and God Bless.

Tuesday, May 6, 2014

Golf bracelett


Good morning, I'm here again to inspire you to use something you have and turn it into something it wasn't intended for.  Can you guess what I used?

Right now I should be somewhere in Florida.  My husband and son are avid golfers and we went to see the John Deere Classic in Iowa last year.  While we were there we found out that The Players would be happening over Mother's Day weekend in May of this year and that is my Mother's Day present, a whole week in Florida!  Now, I do not play golf, although I will be taking lessons when we get home, but I love the game.  I love watching my "boys" play and love driving the cart, hehehe.  I also love the clothing, I know I'm weird!  Now with the clothing I needed to accessorize and with that this idea was born.

For my son's birthday he received Golf-Opoly; just like Monopoly and the game pieces were of course golf themed.

I hijacked those pieces while he wasn't looking and created my molds,
mixed and poured my resin with the Alumilite Silver Metallic powder and created my bracelet pieces.
 Stringing them with some white pearls makes for a classy (lightweight) Golf bracelet. 


 I hope I've inspired you to create something that wasn't it's original purpose.
 
Make sure to head over to the Amazing Mold Putty Blog and check out all the fun stuff everyone over there is making.  On May 24th I will be featuring another project using pieces from the Frog Dog Studio May Kit for a very sad and sentimental project, so make sure to save the date!
Until next time, as always, have a great day and God Bless!

Wednesday, March 12, 2014

Personalized Divot Repair Key Chain


Hi all, it's Wednesday and you know what that means?  I am here to show you another project I made over at Amazing Crafting Products.  Wednesdays have been AMAZING!!!

As some of you know my son is an avid golfer. If he could, he'd be on the golf course every day. It doesn't help that we live in subzero temperatures 6 months out of the year and he can see the golf course from our house. :)

He celebrated his 14th birthday in January, so I thought I'd make him a personalized keychain for his locker at the clubhouse.


I started out with a "divot fixing tool" (I'm sure there is a proper name for it, but I haven't a clue) that he got when he played at a tournament that was sponsored by one of the hospitals here in town.


It's made out of metal and has this cool dome shape with the hospitals logo on it. Instantly I knew this could be personalized. (whenever I make a mold of something and have excess I try to use as much of the Amazing Mold Putty as possible to keep from wasting it, therefore you see other shapes, but they were NOT used for this tutorial.)


I am so in love with the Amazing Clear Cast Resin,
so I decided on a glass looking keychain.


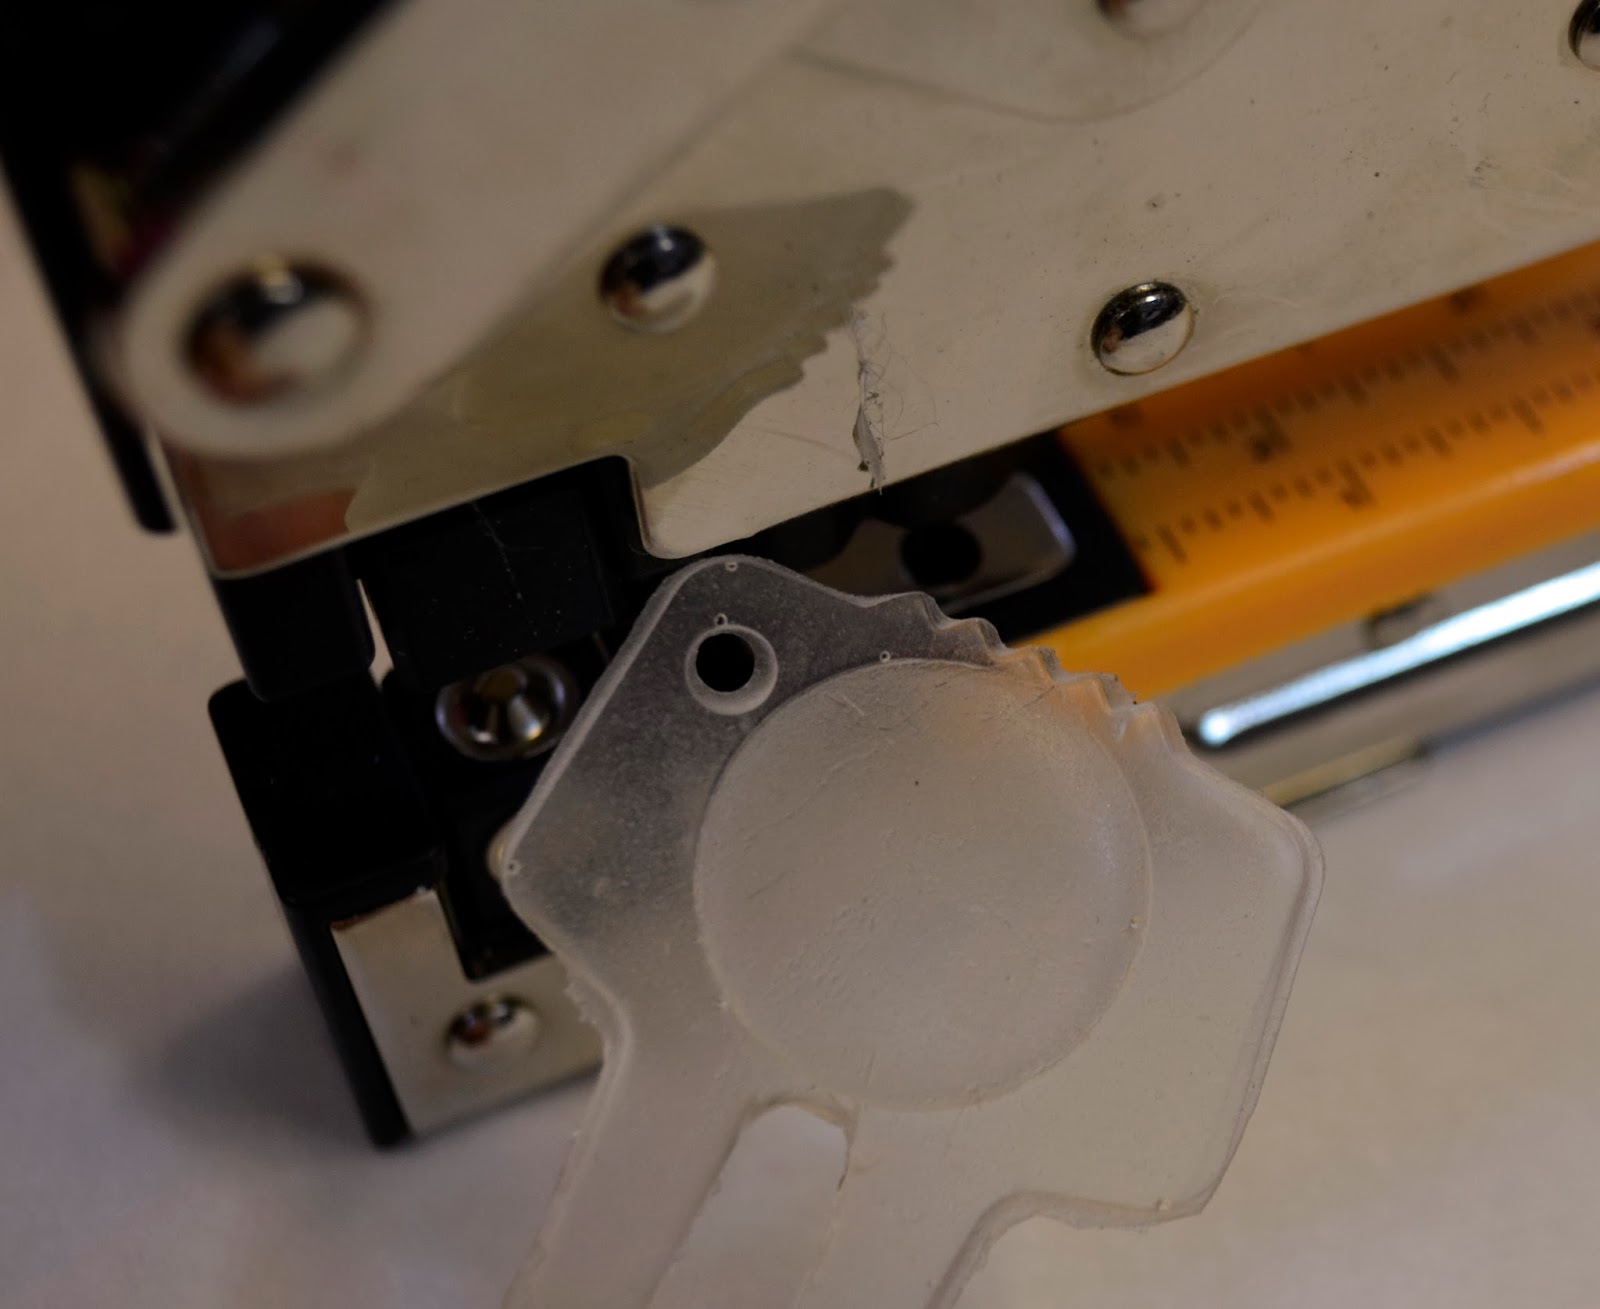
After about 24 hours the Amazing Clear Cast Resin has set up and I used my Crop-A-Dile to punch the hole nice and clean. Do you see how cloudy the "divot fixing tool" looks? Well just wait and watch the magic happen.


I then punched a piece of scrapbook paper (in his favorite color) and wrote "Austyn's" name on it. All of my kids have unique spelling of their names so it's very hard to find something personalized for them.

Thank goodness I can craft. LOL!


Using more of the clear cast I adhered the punched circle to the BACK of the keychain so the name shows through the front and sealed it. This also helps to make that cloudy look go away. It doesn't take that long to dry when you use moderate amounts of the it.


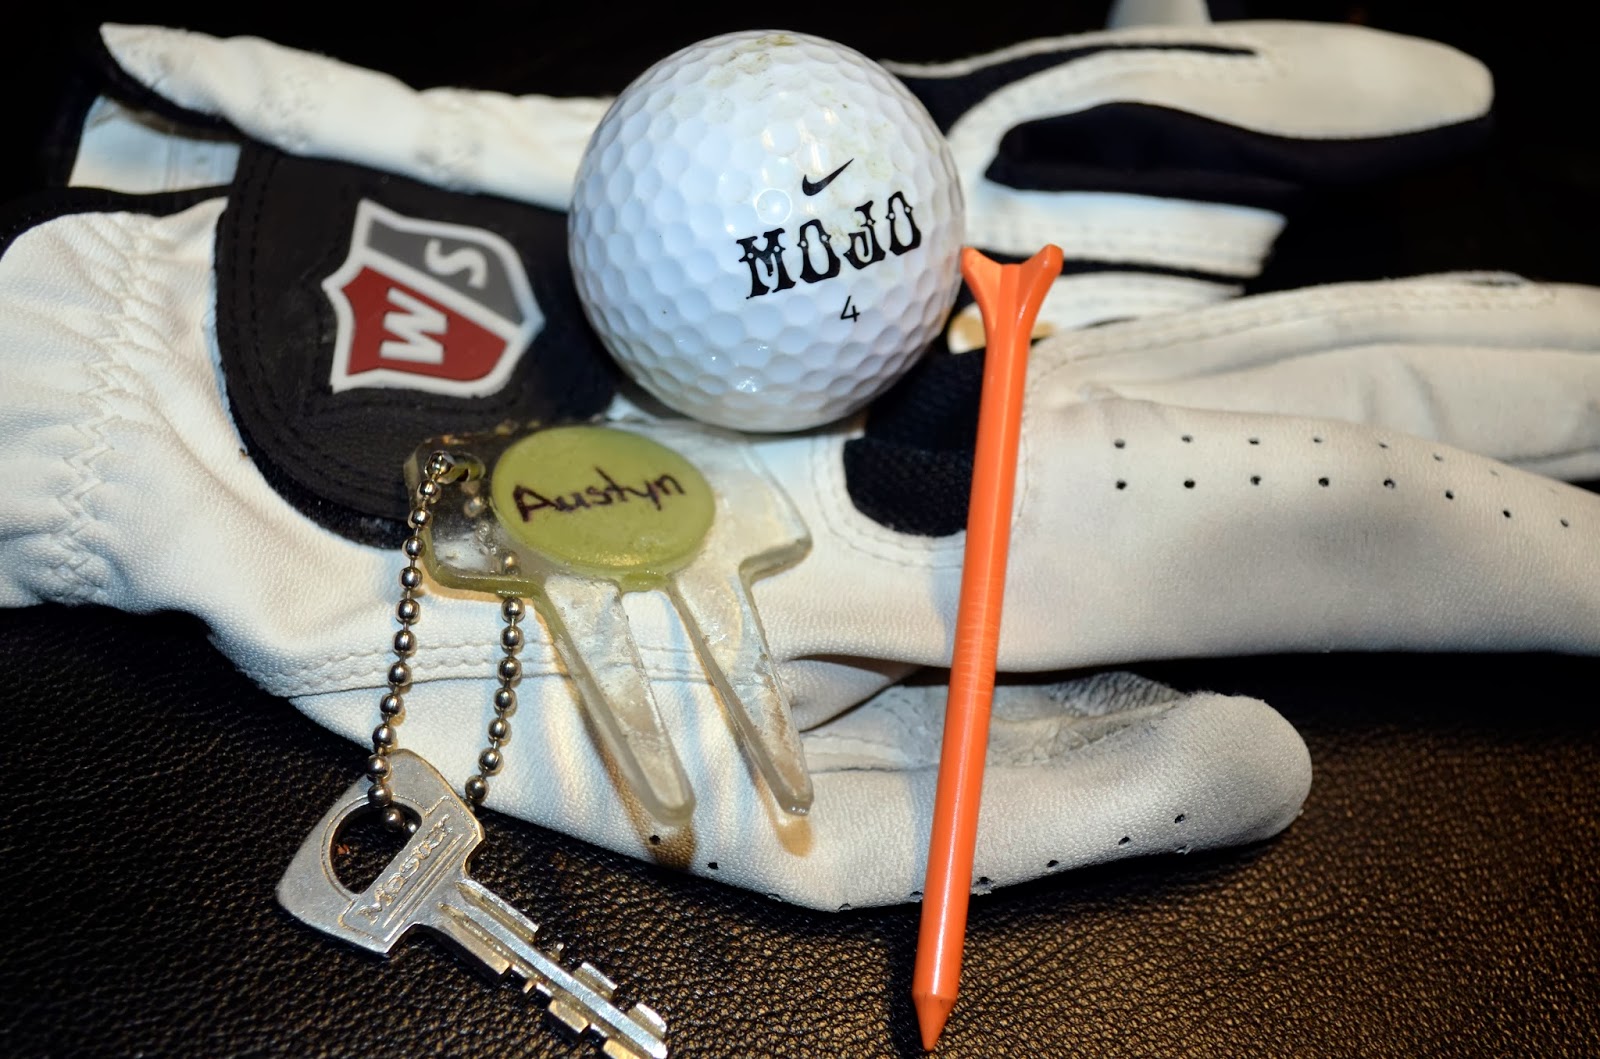
I added a ball chain to the "divot fixing tool" and his key and he's ready to go to the clubhouse... 
in another couple of months or so...


I hope you've enjoyed my personalized gift for my son.

If you personalized something, what would it be?

As always, have a great day and God Bless.

Wednesday, June 26, 2013

Got Golf

Good Morning...today I'm so eager to show you my June Inspiration for Amazing Mold Putty Design Team.  This is something outside of my box, actually it isn't that far outside, just a bit different than what I've been making lately. 

Recently I was asked what inspires me and I said "nothing in particular". That said, I started thinking more about that question and I guess it's my family. You know, most of what I make is usually for them or for me, LOL. Golf has recently (the last 3 years) become an addiction to my youngest son. If he's not at home you can usually find him on the golf course. It's great that it's basically in our backyard and he can go whenever he wants. For Christmas this past year we bought him a Junior Membership at the Club and now he spends every day there. I'm hoping he goes pro so I can retire and just enjoy watching him golf. 


Anywho...he has signed up for 12 tournaments this summer and we (he) have now completed 3. He took 4th place at the first one, didn't place the second one and got 2nd place the third tournament. I'm just thrilled that he's enjoying it so much and for each placement he receives a medal. So ... yes, I could have gone to the pro-shop and bought him a nice case to put his medals in, but with AMAZING Casting Products, I can do almost anything I want!

I started with casting an actual golf ball and only filling it half full with Amazing Casting Resin so I would get "half" golf balls. I drilled two holes, one on top of another with my dremel. The top hole was for the nail and then bottom hole for the cup hooks. Then I painted the pieces with white acrylic paint and nailed them to the board that actually was a piece of a drawer front that we got as a sample when we were looking at redoing our kitchen cabinets and put two hooks to hang it with (I recycle everthing). Then I painted the top of the nail again so you can't see it. I cut the words out of vinyl with my Cricut and now he has a place to hang his medals.


I really hope I've inspired you to try some Amazing Casting Products. There is simply no end to what you can create with it. Have I inspired you to create something? Please leave me a comment here and send me a link if you have created something with these products. Remember, you can get them at Michaels or even Hobby Lobby and if you can't find them there, you can always order them online here {AND there's a coupon below, too}.
..............................
__________________________________________

Use this COUPON to shop at the Amazing Mold Putty
website HERE and receive 25% OFF your purchase.
Please use coupon code " summerhaus " {no quotations}.
Coupon expires June 30, 2013.
__________________________________________
.................................


Monday, August 22, 2011

Paper Secrets 15


Good afternoon
here's my layout I did for the challenge over at PaperSecrets.  Each week we are given an assignment for a layout. I really don't care if I win the contest, it's just helping me to do more layouts that I should have done a long time ago (or some new ones in this case). If you participate and follow the guidelines you advance to the next week. We started with 27 and 10 moved onto again last week.  I will keep updating you as I go along. Who knows, I might not be able to participate one week and then I am out, but until then, I am scrapping my butt off, (they used a different word, but my blog is family friendly...hehehe
Here is the sketch:

 But I rotated it
 and this is what I did
This is what I needed to use for the challenge and 
what is in red is is what I used.
3+ photo corners (around center picture)
3+stick pins
flowers/leaves
bling (within border punch)
fabric/felt
border punch
journaling embellishment
hand or machine stitching (around title)
glitter/micro beads
ribbon/lace (golf ribbon)


I didn't care for this layout too much and I think it still needs something.  I'm not sure what, but I'm still on a roll.  It's so great to have all these layouts done this year.  I'm pretty proud of myself for sticking to it with all that I've been doing.