I saw that Anything But a Card had a mini challenge up today and I couldn't wait to play along. Today's challenge is using 2 or more stencils. I, however, do not own any stencils. Weird actually since I seem to have everything else. I guess I take that back I do own a couple brass stencils, but really have never used them. I decided today was the day, since I'm trying to branch out a bit again.
I wondered what would happen if I incorporated my stencil and my Amazing Casting Resin. You do know how I love to experiment. So off to the races we go...
I spread out some of my resin onto baker's paper. I do not own one of those fancy Teflon sheets, but this works just as well.

Now, normally this resin sets up within 5 to 10 minutes, but when you
spread it out like this it takes a bit longer. Therefore, I was able to

prepare my brass stencil with petroleum jelly (vaseline). I coated both
sides of the stencil because I had no idea what would happen

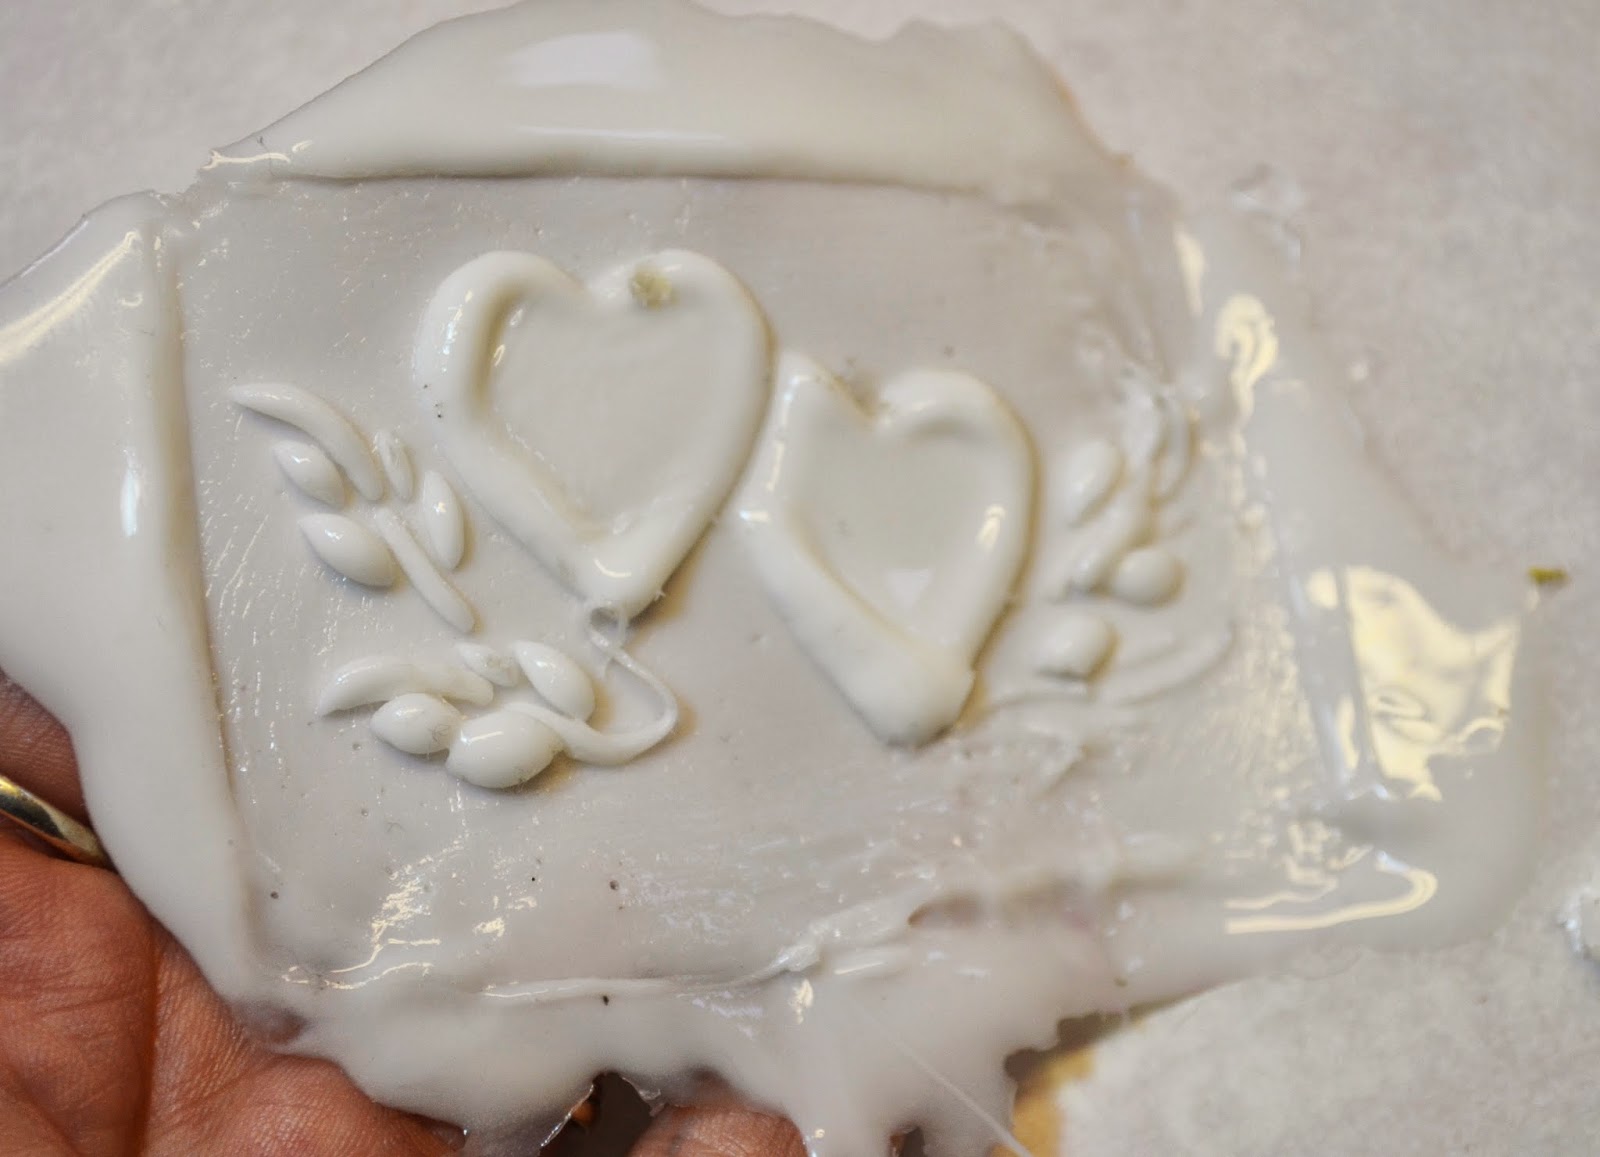
you can tell when your resin starts setting up, because it starts to turn milky.
When I saw it do that I laid my stencil directly into the resin and pushed it in.

Once the resin had set for a bit I pulled my stencil up and some of it came up with the stencil,
but overall I am pretty happy with the outcome.
Here is my resin piece.

See how pliable it still is?
I just trimmed off around that main piece with my scissors.
Before the resin really has time to set up, scissors work fabulously.

Then using some alcohol inks, I started working on painting my piece.
Alcohol inks take very well to the resin.

I love the look of this...very antique like.
Now, this challenge calls for 2 or more stencils,
but like I said, I don't own any "normal" stencils.
I decided to create my own for some etching.
I cut this flourish out with my cricut on some vinyl scrap.

and attached it to my bottle.

it really doesn't have to be perfect as long as you get the pieces
stuck down that matter the most and be careful that you get it all stuck down.
Sometimes the etching cream will "seep" into tiny crevices.

and now for some etching. I haven't used my etching cream in forever
and wasn't sure it was still good before even starting this project.

Paint your etching cream fairly thick onto your vinyl and let it sit for about 10 minutes

I usually scrape the rest right back into my bottle. I'm frugal like that
and then run it under warm water and pull your vinyl off. Now, you won't
be able to reuse that particular piece of vinyl.

but the etching is wonderful. I guess my etching cream was still good!
I applied some E6000 to my resin piece and centered it under
the flourish etching.

Then I "taped" it down with some bingo tape (like painters tape) to keep it in place.

and now I have a mini wine bottle turned into a beautiful vase.
I glued some pink ribbon around the top of the bottle and attached a brad.
Adding some pink flowers completes it.

I absolutely love how this turned out.

Now I may not have use traditional stencils for this project,
but sometimes you just have to come up with your own when
you don't have the right stuff.
Experimenting is good!
Experimenting is good!

I hope you've enjoyed my little project today and I can't wait
to see what the next challenge will be over at ABAC.
As always, have a great day and God Bless.


