Followers

Saturday, June 17, 2017

Christmas in July smoothfoam wreath

Good morning

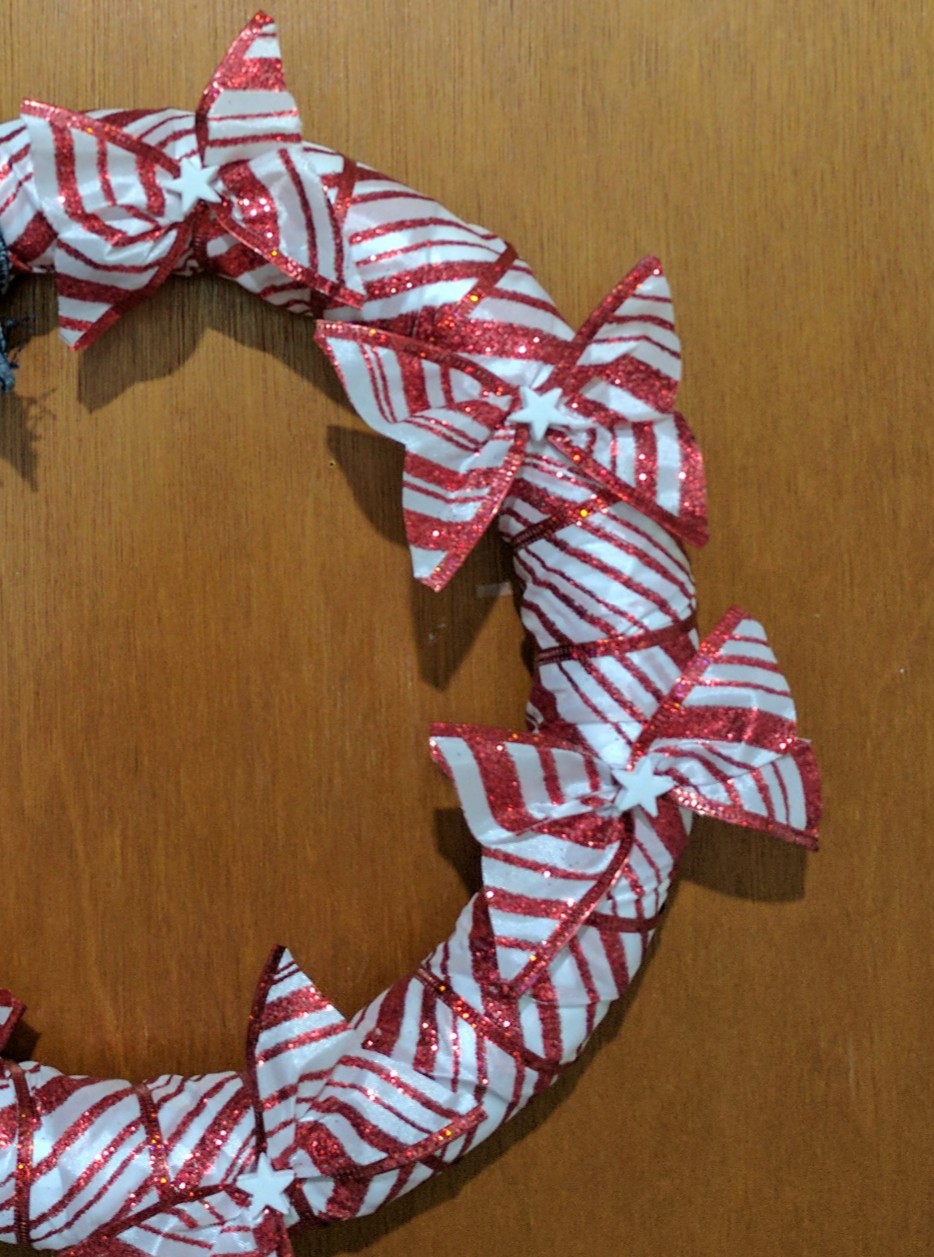
Today I wanted to show you a quick wreath I made last night getting ready for Christmas in July!

About a year ago I won a contest sponsored by Smoothfoam crafts! I received six different smooth foam wreaths in various sizes! What I absolutely love about the smoothfoam wreaths is that they are sectioned so you can see exactly where you want to place your ribbon or any other embellishments and no measuring is needed!


In searching through my stash I also found some white foam stars.

I  started with my wreathform and cut some denim strips about an inch wide and the length of the pant leg! Then tied those denim strips on to three sections of the of the wreath form.


I also wrapped the rest of the form with red and white Christmas ribbon and added some bows and hot glued them on with those white stars to give it more dimension.


I did the same thing to the denim section.

By adding some of the strip of denim from the seam I created the hanger and here it is in all it's glory!


I hope you like my quick tutorial using the smooth foam wreath form.
 Thanks for coming and I hope to see you again soon - Brenda


Wednesday, June 14, 2017

#100daysofmolds

Good afternoon,

I'm not sure if you're aware but we are doing #100daysofmolds over on Instagram!  Head over to Instagram and check out what were talking about. Here's just a few examples of what I've been doing.


These are just raw resin pieces, but soon I will have finished products to show you with tutorials!

Make sure to also stop by the Amazing Mold Putty blog and check out what all the designers are creating over there!

Thanks for coming and I hope to see you soon!

Tuesday, June 13, 2017

Candle ambiance

Good afternoon crafty people,

Today I want to show you a quick tutorial of how I created a candle from a upcycled jar!

If you remember about a month-and-a-half I was a participant in a blog hop for stencil girl.  I created an awesome elephant Mosaic in blacks and purples! (You can see the full tutorial here 


After it had been sitting on my end table for a while I thought it might need some ambiance with it so I created this!


I started with a plain jar that hubby threw the lid away for (always upcycling) and mod podge and food coloring! Just pour some mod podge and a few drops of food coloring into the jar and swirl it around! Turn it upside down on some newspaper and after it dries put it in the oven for about 30 minutes at 225 degrees!


Now I really do like the look of the clear glass but I was going for another look.

After pulling it out of the oven I let it sit for a while and then I took a spray bottle filled with water and my looking glass spray paint and spritzed the jar with the water and then spritzed some of the glass paint. I also just ran my fingernails across the jar while it was still somewhat wet to give it some openings. And this is what you get!


After it completely dried I plopped a candle inside the jar and set it next to my mosaic for a nice glow!


Pretty awesome, right?  I hope you've enjoyed my quick tutorial and please leave me a comment and let me know what you think!

Thanks for stopping by and be sure to keep following my blog for future tutorials!

Have a great day - Brenda

Sunday, June 11, 2017

HTV versatility

Good day friends,

I just wanted to share a few of my recent projects using HTV. I'm so in love with heat transfer vinyl. The possibility are absolutely endless!


A baseball cap 


A oven mitt filled with goodies


A birth announcement


Baseball shirts for moms


Canvas shoes


A statement shirt

I can't wait to work on more things to show you!