Followers

Monday, August 17, 2015

#Cre8time Dream Star and chalk paint

Good moring crafties!

I'm so excited to share my post and I hope you enjoy reading all about it my off the cuff project.

I've seen these 3d stars everywhere and have always wanted to make some, 
but for whatever reason haven't attempted it until NOW!
I've been stalking pintrest like crazy lately and found some tutorials on how to make them.  
Well duh, how easy peasy.  So let's get started 


Using my cricut of course I cut 2 stars 6 x 6 from some thin chipboard.
If you don't have a cutting machine of any kind you can cut them by hand, 
just make sure they are identical cuts.


Then using my scoreboard I scored lines from point to end all the way around the star.


Now you want those valleys and peaks, so fold alternating.
Do that to both stars.


Now I glued them together with hot glue.  
That seemed to be the best solution.


I just added hot glue to a point and ran a bead down and mashed the star together.
It's a bit tricky, but you can do it!  Just be careful because they don't call it hot glue for nothing!


Now I did want my star to look distressed so I added some petroleum jelly 
to the tops so that the paint wouldn't stick to the entire star.


Now while I was on pintrest I also found a recipe for making my own chalkpaint.  
I used 2 ounces of unsanded grout, some acrylic paint and HOT water to give it a smoothness.


and started to paint.  
While it took to the chipboard I wondered if I should have gessoed it!


So I did the other side.


and then painted it.


gessoed


natural chipboard.
I did sand both sides a little with an emery board.  Chalkpaint is a bit unusual.

But, I like them both!


I did wind up using the natural side for my piece.
Then I added a bit of stencil cream in brown and green to give it an aged patina look.


I used the same chalkpaint on a small canvas piece, 
stenciled some green around, rubbed brown around the edges.
I cut the word Dream with my cricut from vinyl and dug in my never ending box of resin pieces 
(made with my Amazing Casting Products)
to find this elephant and fleur de lis, just because, and glued them to the outer edges.


Doesn't this star look fabulous?
The chalkpaint did flake a little while I was sanding it,
but I love the look of vintage, shabby chic that it gives it.


And now it sits proudly on my headboard!

Whew, that was a lot for one post, but I'm over the top thrilled with my newest project.
I hope you've enjoyed it as much as I have and would love to hear your thoughts!  Leave me a comment and let me know what you would dream up if you could craft anything in the world.

As always, have a great day and God Bless.


Sunday, August 16, 2015

Let's Celebrate at Anything But a Card Challenge #50 with a Wedding

Good morning friends,

Today is a sad and happy day for me.

Sad, because today is the LAST installment of Anything But a Card challenge #50 CELEBRATE.  I've only been a design team member there for about a year now and as things progress the team has decided it's time to say goodbye.  I'm sad that we will no longer be together designing for such a great blog, but it's also understandable.

Happy, because I made something to share with you that is very dear to me.  My son is getting married in a month and I made their glasses and a vase for them to Celebrate their wedding.  I love glass etching and my Armour Etch gets used a lot!

Although I did not put a tutorial together for this, I'm sure you are familiar with Armour Etch and what it can do.  If not, please check out some of my previous posts and familiarize yourself with the ease of this product.

Birthday plate 

Bookmark

Jewelry Holder

Re-purposed Liquor bottle

Donation Plaque

Personalized Golf Glasses

Hot Cocoa Bottle

Butterfly Bottle

I guess I've made a few things, LOL and I haven't even blogged about all of them!

Anywhooooo, this is what I did for our current challenge.


I tried to make the words stand out a bit with the orange paper inside the vase.
Etching is very hard to photograph.


The vase will hold some peacock feathers at the table.


Although this may look a bit intimidating, using Armour Etch is a breeze.

I hope you've enjoyed my pictures and my post for out last challenge at Anything But a Card and PLEASE  join in for our last "celebration" challenge.  I look forward to seeing what you create.  Remember, there are only 3 rules.
1.  Create anything but a card
2. Follow the theme "Celebrate"
3. Have FUN!

As always, have a great day and God Bless.


Saturday, August 15, 2015

Friends Plaque

Hello everyone and happy Saturday.

Happy Birthday Shelly!
Today is my best friends birthday and while I cannot be there to celebrate with her, 
I did want to make her something and sent it.

Lately I've been on a sign making adventure.  
I love my new found craft and wanted to share this one with you!


The board was something I had in my stash from who knows where.  
I didn't alter it at all.  This is how it was!
I love the aged and weathered look!

All I did was cut the saying with my cricut in vinyl and burnished it to the board.

Friends 
are the 
most important 
ingredients in 
the recipe 
of Life!

As always, have a great day and God Bless!


Friday, August 14, 2015

#cre8time - Faux Geli Plate Printing with Amazing Mold Rubber

Good day friends,

today I wanted to introduce you to my very first faux geli plate printing.  I've been watching one of my creative friends make some amazing backgrounds lately.  She is a wonderful card maker and such an inspiration.  You can find Annette on instagram  @paper_pajamas or at her blog paperpajama.blogspot.com.

So anyway, she has inspired me to try this geli printing thingy without her knowledge!  Teehee.  Well, I could not see myself spending money on a geli plate because who knows if I'd like it all that much.  Believe me, I have enough crafty things to keep my busy.  However, as you also know, I belong to the Amazing Casting Products design team and our fearless leader had posted making  non geli plate a while back so I thought I'd give it a try.


Frisbee


Here is my faux geli plate using my Amazing Mold Rubber.  I just used a regular Frisbee I had in my stash as my "mold" and poured my mold rubber mixture directly into it after mixing it up (you can see a video tutorial HERE) and let it set for about 2 1/2 hours.

I really had no idea where I was going with this, but oh my, I've had a grand old time.  I just used scraps of paper from my stash and started to play.

I used texture plate, cut outs, rubber stamps and even a fork.  LOVED playing today.
Here are some examples of some of the papers I made:


my texture plates


I forget that if you use a rubber stamp it will be backwards, so I used the paint from the rubber stamp and stamped that on some paper and viola, another awesome image!


I love the texture that this piece gave!


This was some paper I had run through my cuddlebug and is textured.  Really love how this came out.
I just with the picture were better!  You can really see some awesome detail in there!


See the Pink ribbon in the above photo?  

Here is the result:


Love how these came out!


Here I started with the pink and blue paint again 
and dipped a styrofoam ball into some black paint and rolled it around
in the pink and blue paint.
I got messy, but wait till you see the outcome!


LOVE,LOVE,LOVE these papers!

Now I can't wait to sit down and make some cards with all my lovelies!

I hope you've enjoyed reading my post today and would love for you to leave me a comment!

As always, have a great day and God Bless!


Thursday, August 13, 2015

Welcome any time of the year Sign

Good morning friends,

I just wanted to share a quicky sign I made.

I saw something similar on Pintrest and wanted to try it.

I got these boards at my local craft store on clearance
and drilled holes with my dremel approximately 1.5 inches apart. 


Then I glued a pop tab to the back of the board with my trusty E6000 glue!


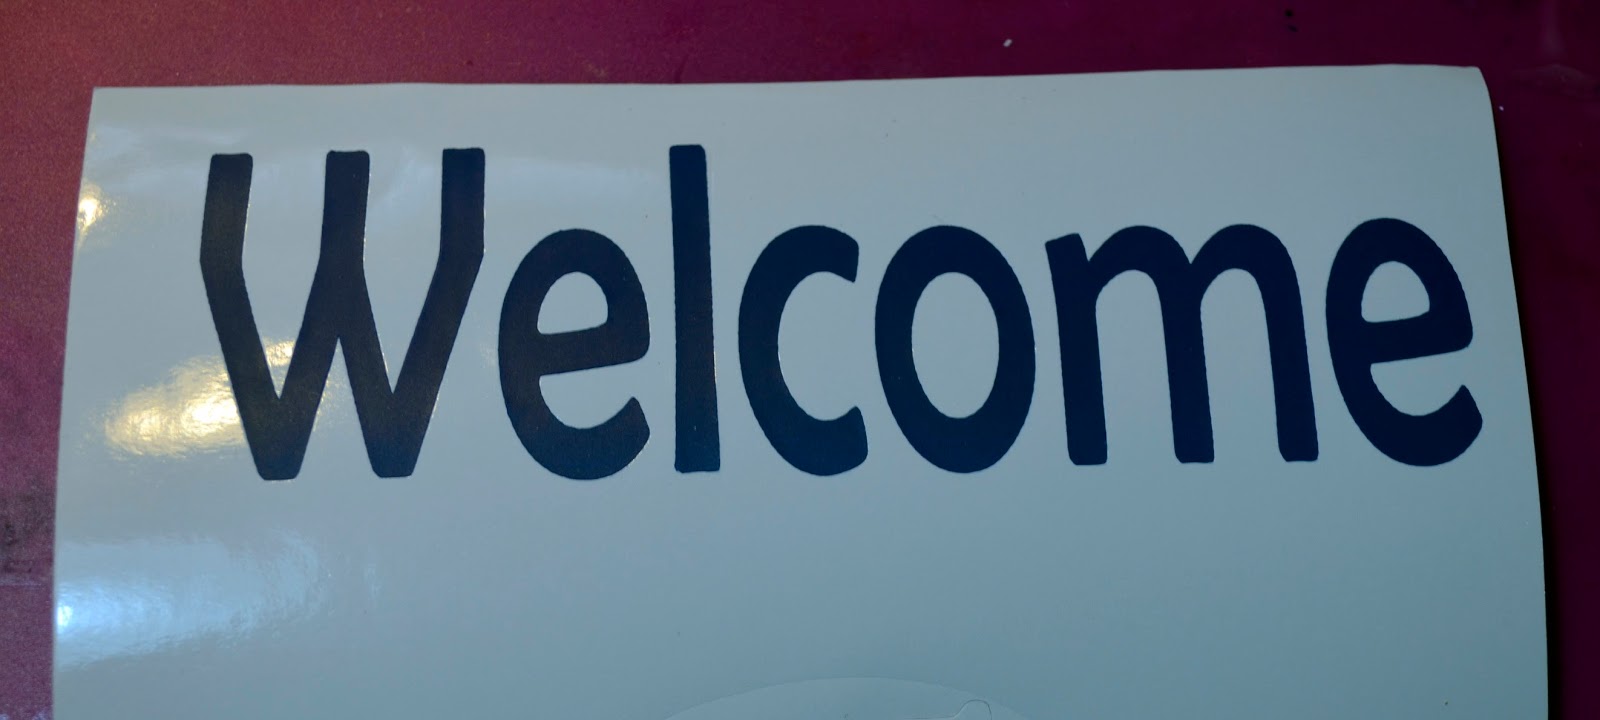
While that was setting up I cut Welcome with my cricut on blue vinyl.


Using and old room key I burnished the transfer paper to the vinyl,


and then burnished that to the board itself.


Then again using my cricut I cut 12 tags of this shiny blue cardstock


and some season pictures out of white vinyl.


And here is my quicky sign.


Fall


Winter


Spring


and Summer.

I hope you've enjoyed the sign I made.  Remember, not everything has to be complicated to make!

As always, have a great day and God Bless.

Wednesday, August 12, 2015

#Cre8time meets Steampunk meets Refrigerator Magnet

Good morning friends,

I got super excited about a stamp I recently purchased at a Dollar Store of sorts.  It's really not a dollar store per say as their prices range from $1 to multiple dollars, but let's call it a discount store.  They sell everything from toys to laundry soap.  You never know what you will find.  Well, we used to have this chain in our town, but it didn't last.  Not sure why it didn't last cuz I thought I kept them in business!  LOL  Now, my job has me traveling a bit more and I found this chain in one of the small towns I have to go to once a month.  YEAH me!!!  During one of my last visits I found this awesome steampunk stamp set.


It's got awesome gears and a bike and a lightbulb and oh, just lots of fun things!
And the best part?  It only cost $2.  Yeah, me again!


So I stamped the image on a piece of paper and colored some of the sections. 
Now, while I really liked this, I love mixed media projects and wanted to run with some 3d images.

So...


out comes my Amazing Mold Putty and that gear stamp.


I molded it


and colored them with my Amazing Alumidusts.


Poured my Amazing Casting Resin (I have a few gear molds, lol)


and here are my gears.!!!  LOVE> LOVE

Then using an ordinary pair of scissors I cut my gears apart
(because I wasn't using them all in that way)


and glued them over the stamped image plus others.  I added a couple of hearts, an elephant (my favorite), a bent paper clip that I shaped into a heart, some scribbles around the frame and I added some more gears and rhinestones to the frame.
Now I have an amazing refrigerator magnet.  

Sometimes even I Amaze myself.

I hope you liked my little #cre8time fun and look forward to your comments.

As always, have a great day and God Bless!

Monday, August 10, 2015

Get Creative Challenge #21 When Pigs Fly

Good Morning and Happy Monday to you!

It's another beautiful day and I am here to share my newest card for the Get Creative Design Challenge.

This is the image I chose from QKR Stampede

and this is what I made


I love the simplicity of the card yet it looks pretty cute!  I puffed the "balloon" with a little bit of cottonball and then glued it down. I think I might be getting the hang of this "digi" card making, LOL 

Make sure you check out the Get Creative Challenge blog and join in the fun over there.

Thanks for looking and as always, have a great day and God Bless!

Monday, July 27, 2015

Here comes my Mommy

Good day

Just wanted to share a quick post on a sign I made for my soon to be DIL's SIL.  Wow, now how was that for an introduction?

Mandy's (my soon to be DIL) brother was getting married and his soon to be wife had a child from a previous relationship and he was going to be in the wedding.  They wanted him to carry a sign as he walked down the aisle.  So Mandy got this wooden sign at Michaels and painted it a light gray with yellow trim.  Their wedding colors were gray, yellow and silver.


She then brought it over to me to have my vinyl a saying.  


Her soon to be SIL loved it!

Not all projects need to be complicated and sometimes it just feels good to make something simple.

As always, have a great day and God Bless!