Followers

Showing posts with label Sign. Show all posts

Friday, April 1, 2016

Toes in the water, A$$ in the sand reclaimed wood

Good morning friends,

I'm here today to show you a board I made for a friend.  I've posted a lot of my signs on facebook and now I have friends constantly asking me to make them something.  But of course I will try anything for a couple of bucks.  I've gone onto Etsy and other sites to see how much reclaimed barnwood signs are and oh my, I'm way undercharging.  With that being said, I do this for fun and have a blast making my friends happy!

So let's get started:

I started with a 12 x 12 board that my husband so nicely cut for me.  If you saw last weeks post about my wineglass holder you read that my daughter's boyfriend gave me a couple stack of reclaimed barnwood.  Yeah me!  This barnwood is over 100 years old.

I sanded and cleaned the wood very well.  You really need to do this to make sure it's safe for in your house.  I did not stain this board as I wanted the natural wood look.   Then I spray painted some black kinda in the middle of the board.  While that was drying ...


... with my cricut I cut out the saying with some dollar store sticky back shelf liner
and burnished it down very very good.  This is a must so that the paint doesn't bleed
and that will give you nice crisp lines.


Then I took some acrylic paint in a sea green
(oops, picture is upside down)


and spunged all over the board.

\

After it was completely dry I peeled the vinyl letters up
sanded the edges and all around the board
and viola ...


I think this turned out amazing and my friend absolutely loves it.

I hope you've enjoyed my sign and would love to hear some comments.

As always, have a great day and God Bless!

Thursday, December 24, 2015

Reclaimed wood #cre8time Photo sign

Merry Christmas

 I've been making signs out of reclaimed or scrap wood for awhile and I was asked to make a photo sign as a custom order.  This will be a Christmas gift of his beloved dog that passed away recently.  I wasn't sure if this was something I could do, but I'll try anything!  So after doing a bit of research I attempted it.

I had some scrap wood laying around.  Hard to imagine right?   I had a friend's husband cut it for me.  I wanted to build a slatted board.  The pieces measured 5.5 x 17.  Then I nailed 2 pieces to the back.  The entire piece now measures 17 x 17.

Next I went to Kinkos and had them blow up the picture to 12 x 12.  I actually wanted it a bit bigger but this was the best they could do??? 

I gessoed the boards with black acrylic paint and a tiny hint of brown.  I love playing with color.  It turned grayish and I love it.

I then cut the blown up picture into 3 pieces and used Mod Podge to adhere it to the boards.  

After it was completely dry, I sponged black, gray and brown acrylic paint around the outsides of the picture to soften it a bit.  I also stippled some more black around the edges!

I then sealed it with a spray varnish!


After it was completely dry I added a picture hanger to the back.

I am usually a harsh critic when it comes to my own work but I am extremely happy with this piece.   
The customer is also very pleased.  That is most important!

Thanks for looking and as always have a great day and God Bless!

Tuesday, August 25, 2015

Repurpose #cre8time Wallhanging

Good day friends,

So recently I had a burst of energy and "cleaned" by craft room.  In doing so I found so many wonderful things to play with.  It was like Christmas...  I am a serious hoarder of EVERYTHING.  I have many great plans and then forget about them or stash them away and don't remember why I wanted to "keep" this or that when I find it again.

A while back we were cleaning out some shelves and I found this old cassette holder.  Yes, it was full of cassettes also.  I don't even own a cassette player anymore, but thought I could re-purpose the old thing.  Into my hoarding room it went to be totally forgotten about.

Again, while I was cleaning the other day I came across it.  Now I do know I had kept it thinking I was going to stash all my ink pads in it, but since then I found some cool wooden cassette holders that were a bit bigger than this and nicer looking.  Now I was heading to the trash with it when I remembered a pintrest idea.  Someone had taken cereal boxes and covered them with paper and make some home decor wall hangings.  Well, we don't eat cereal out of boxes, we are bag cereal eaters.  So there goes that idea ... but


I traced around a piece of cardboard to fit the case.


I also reinforced it with some "cheap" duct tape I got at the Dollar store.
This tape isn't as good as the real duct tape, so I use it for other things.


Then I found some pretty wrapping paper and wrapped it like a present.
I was careful not to wrap it all the way to the holes for hanging, 


and now some cheap wall decor.
I'm going to have to find another box of some kind and add another one
maybe lengthwise to match.

I think the granddaughters will like this in their room.

Instead of throwing things away, re-purpose them!

I hope you've enjoyed this simple homedecor project and look forward to hearing what you think!

As always, have a great day and God Bless!

Tuesday, August 18, 2015

#cre8time - Take it or Leave it Menu


Hello crafties,

Just wanted to show off a Menu Plate I made last week.

Lately my grandbabies have stopped eating.  Well, not really, but they all have different tastes.  Today one will eat spaghetti and next week she won't.  One would eat macaroni and cheese at every meal.  The other one doesn't eat meat!  It drives me crazy sometimes.  Last week all three of them drove me absolutely crazy with their eating at the dinner table, EVERY NIGHT!  I just throw my hands up in the air!

Now although they can't read, I made a dinner plate plaque cutting some vinyl with my cricut.  Remember, me, the hoarder?  Yes, I have these black plates in my stash because someday I was going to do something with them.  Well, I guess someday was last week.

I vinyled the saying:
Today's Menu
Has two choices
Take it 
or 
Leave it

and burnished it to the plate.  Set it in a plate holder and now it sits proudly in my kitchen!  


Easy peasy and cost next to nothing.  I'm sure if I went to the home interior section of a store I would have spent at least $10 on something as simple as this.  I love being able to create for myself and others.


I hope you've enjoyed my little Menu sign and would love if you left me a comment.

As always, have a great day and God Bless!

Saturday, August 15, 2015

Friends Plaque

Hello everyone and happy Saturday.

Happy Birthday Shelly!
Today is my best friends birthday and while I cannot be there to celebrate with her, 
I did want to make her something and sent it.

Lately I've been on a sign making adventure.  
I love my new found craft and wanted to share this one with you!


The board was something I had in my stash from who knows where.  
I didn't alter it at all.  This is how it was!
I love the aged and weathered look!

All I did was cut the saying with my cricut in vinyl and burnished it to the board.

Friends 
are the 
most important 
ingredients in 
the recipe 
of Life!

As always, have a great day and God Bless!


Thursday, August 13, 2015

Welcome any time of the year Sign

Good morning friends,

I just wanted to share a quicky sign I made.

I saw something similar on Pintrest and wanted to try it.

I got these boards at my local craft store on clearance
and drilled holes with my dremel approximately 1.5 inches apart. 


Then I glued a pop tab to the back of the board with my trusty E6000 glue!


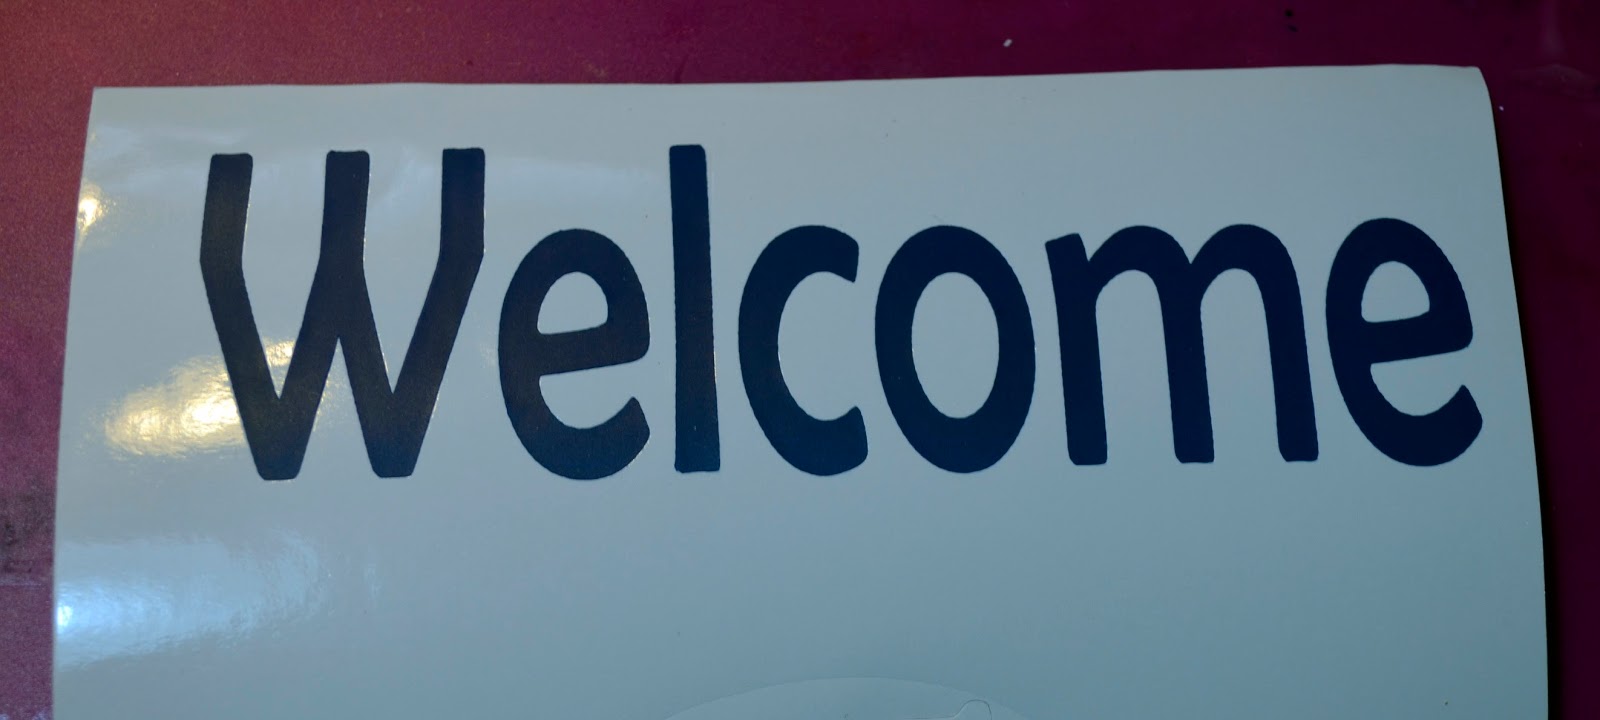
While that was setting up I cut Welcome with my cricut on blue vinyl.


Using and old room key I burnished the transfer paper to the vinyl,


and then burnished that to the board itself.


Then again using my cricut I cut 12 tags of this shiny blue cardstock


and some season pictures out of white vinyl.


And here is my quicky sign.


Fall


Winter


Spring


and Summer.

I hope you've enjoyed the sign I made.  Remember, not everything has to be complicated to make!

As always, have a great day and God Bless.

Monday, July 27, 2015

Here comes my Mommy

Good day

Just wanted to share a quick post on a sign I made for my soon to be DIL's SIL.  Wow, now how was that for an introduction?

Mandy's (my soon to be DIL) brother was getting married and his soon to be wife had a child from a previous relationship and he was going to be in the wedding.  They wanted him to carry a sign as he walked down the aisle.  So Mandy got this wooden sign at Michaels and painted it a light gray with yellow trim.  Their wedding colors were gray, yellow and silver.


She then brought it over to me to have my vinyl a saying.  


Her soon to be SIL loved it!

Not all projects need to be complicated and sometimes it just feels good to make something simple.

As always, have a great day and God Bless!


Tuesday, September 27, 2011

Creative Paperclay

Good morning friends

Today I want to share a project that was super easy and fun involving some more alphabet cookie cutters.  As most of you know, I am also a designer over at Creative Paperclay.  I love working with it for embellishments for my scrapbooking and cardmaking but this time I used the paper clay to make a sign for Miss Bella's door.  I am taking over decorating for her room and everything is coming together black and pink...

Here are my step by step instructions, kinda picture heavy.
I laid out some paper clay to the size I wanted the
sign to be...it measures 2.5 x 9 and then used my
fiskars embossing plates to add some flowers
Then I used my alphabet cookie cutters 
to cut out her name
now the centers of the B and A don't depress
enough, so I thought I'd cut heart out in the middle
I used the hole of a mechanical pencil to cut 
out the holes for the ribbon to hang
Here are all the pieces dried and ready to paint.
As you can see the holes in the A and B didn't
work, so I changed my mind...
I painted the sign first pink, then black and then 
washed a pink over it again.  I also painted all the 
letters pink and....
highlighted the edges with black
I glued all the letters to the sign, hot glued some lacy
ribbon around the back...glitzed up the letters with
rhinestones and added some bows with the lace.
I also made one stick pin for accent to the top
and added some pink and black ribbon as the hanger
I really love the way it turned out.

So, today I am giving away (1) 8 oz brick of Creative PaperClay.  I used half of a brick to make this sign and all the embellishments, so depending on what you want to make, it can last a while.  Be sure if you do not use it all at once to put it in an airtight container or it will harden on you as it dries by air.  I store mine in ziplock baggies after I've sucked all the air out of it.  

So, now to qualify to win this please let me know what you would make with it...have I given you any ideas or do you know of something you'd like to try?  
Also, please go to Creative Paperclay FB page and "like" them for a second chance and tell them I sent you and then come back here and tell me that you did that
For a third chance go to the Creative PaperClay blog and become a follower and come back here and tell me you did that

This giveaway ends on October 2nd and I will announce the winner 
October 3rd, so please make sure to come back here to see if you have won.