I am here to show you what I made for Mold rubber Monday at Amazing Crafting Products. If you haven't done so, please go over to that blog and check out ALL the cool ideas this fabulous design team comes up with.
It's been a long three weeks that I have had to keep this a secret, but yesterday was my reveal over there and I wanted to share with all my readers also. This will be a very, very long post and picture heavy with an added bonus of a video because I am going to actually show you three projects in one.
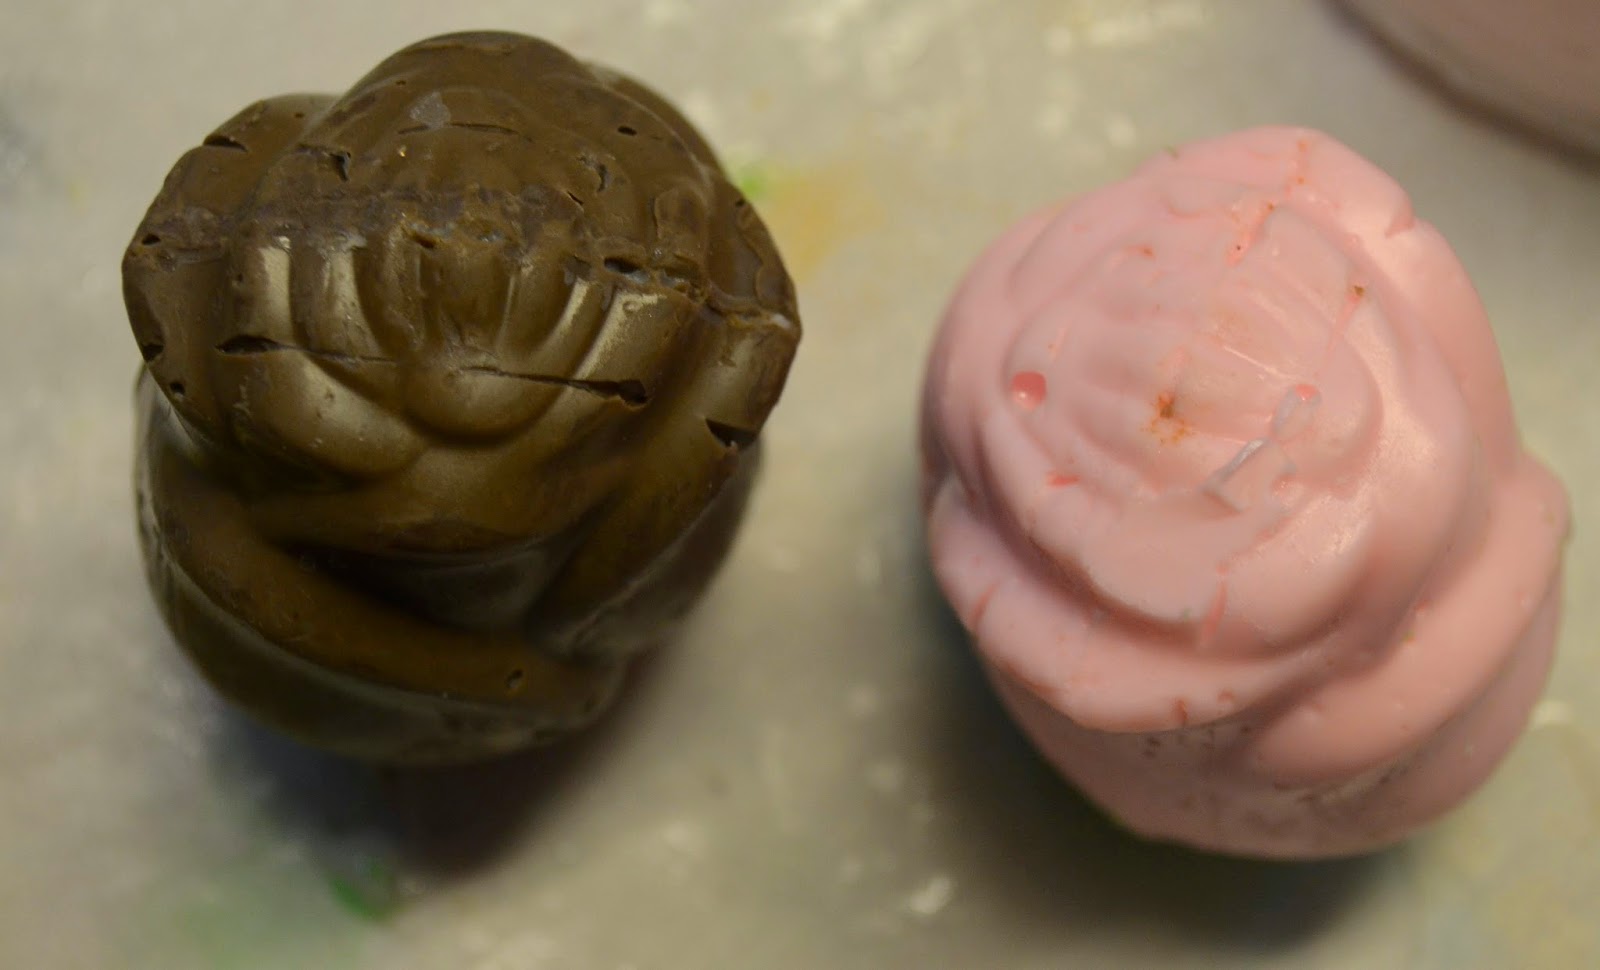
I started out with cleaning my dresser off and found this "yummy" chocolate rose my hubby gave me 10 years or so ago. I was actually pleasantly surprised that the chocolate wasn't totally white when I unwrapped it.

from this

to this

Now, it turned out "nice" but it definitely had some flaws. The nice thing about the Mold Rubber is that is picks up ALL the detail of the original item, the bad thing is that it picks up ALL the detail of the original item, LOL
I then created this


which was pretty in itself, but still had some flaws.
I also created one layered with the Amazing Crafting Resin with Alumlite Flo Red Dye, just the resin without coloring and then with another layer with the Alumilite Blue Dye. Pretty, right?

After making these I showed hubby what I had made. He is my go to guy when I've created because he DOES NOT hold back in critiquing me. Sometimes that's good, sometimes not so good. This time he looked at the rose, turned it over and over and said "You know..." which means he isn't totally into what I just made "...you could improve on this a bit if you cut those lines out. Can you cut resin?"
So back to the drawing board I went.
I then created this piece with Amazing Clear Cast Resin and Alumilite Pearlescent Powder just to see how it would turn out.

and here it is, all pretty in sparkly white

just because this is what I do I used the Oil Pastels from Frog Dog Studio to give it some color

heat set it with my heat gun and rubbed the oil pastel in to give it an incredibly cool shiny color (and when you put heat on the resin, it also softens it a bit so that...

you can use your exacto knife and trim away all the grooves). How cool is that?

From that I went to create another Amazing Mold Rubber mixture. Now when I am ready to mold something I keep all the "extra" bits and pieces of molds that either didn't turn out or the skin from the mixing cups and "bed" my original piece. It saves on not having to use a lot of the mold rubber and pouring it onto this will actually adhere itself directly to the bits and pieces.

If you can, always hot glue your original piece to your container. This will keep your piece from "floating" and creates a nice hole to pull your piece out of.

and here is my "perfect" rose mold.

This rose was actually made by first adding a mixture of Amazing Casting Resin and swirling it around in the mold to give it an edge. You definitely have to have some patience when doing this technique, but the outcome is fabulous. Then when that was totally cured I added more Amazing Casting Resin with Alumilite Black Dye and filled the mold. Once it came out of the mold, I also added a little bit of the oil pastel in black around the edges and heat set that again also. I didn't have to do this, but since inventing this technique I feel I want to heat set everything with oil pastels. LOL

I created a wire piece, drilled a hole in the center of the rose and

glued it with E6000 to make a picture holder. Since the resin piece is so dense it's actually a solid somewhat heavy piece.
Now, while I was creating ALL these fun roses I had some time between drying, curing, setting, etc and I was looking around my craftroom and found this:

I actually remember purchasing this at Michaels on clearance last fall. Ding, ding, ding...could you really use the Mold Rubber Molds to make soap?
Here is the proof of what I did, Enjoy
(Now keep in mind this is my first video in a very, very long time...don't judge, lol)
if you don't want to watch the video or cannot watch it, keep reading. There is a full step by step on how I did what I did.
I melted the soap in the microwave for 20 seconds, added some fragrance and two drops of the purple colorant and poured my mold.

put it into the refrigerator for 10 minutes

since I had no idea if this would work or not, I slowly pulled the edges from the piece away and it sorta just popped out

Check this out...

beautiful or what?

here are some other pieces I made just because I had the soap all melted. All the other pieces except the rose are Amazing Mold Putty molds. So, the proof is that you can also pour soap into those molds.
I got a little dish at the Dollar Store, wrapped the soaps with some fake flowers and
Viola, a pretty accent to your bathroom.

now, I do have to say that after letting the roses set out for a day, they "dried" a bit more and kinda crystallized, but I love this look even more than the glossy look.

If you are still reading here, thank you for sticking around to read all the way through and I hope you had a chance to watch the video also. It was my first attempt at a video in a very long time and I think I did pretty good. I hope you enjoyed todays post and thank you so very much for all patience with this oober long post. Please leave me a comment below with any questions or feedback. I love to hear what others think.
As always, have a great day and God Bless.

No comments:
Post a Comment
My favorites have this to say