Followers

Showing posts with label alcohol ink. Show all posts

Monday, April 20, 2015

Get Creative Challenge #13, Lacy Sunshine Steampunk

It's the 3rd Monday of the month and time for me to show off another card I made for the Get Creative Challenge blog.  I've had so much fun so far being on the design team.  

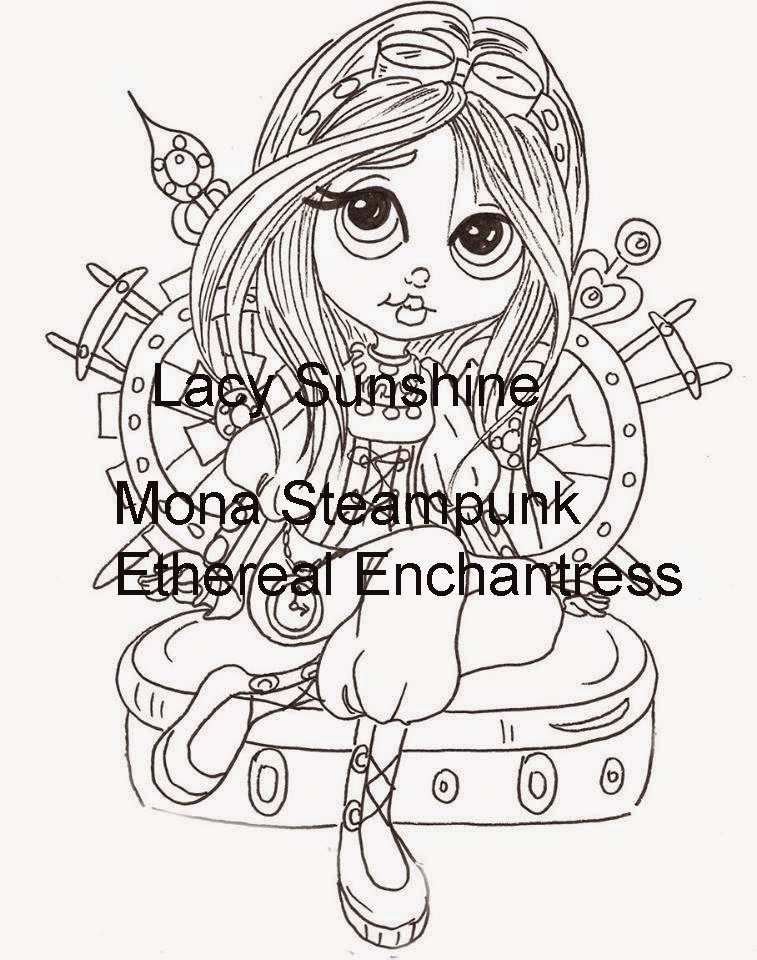
Here is the image I chose for this month's challenge which is using Pink, Purple and Green in your project.  Two of my favorite colors, yeah ME!!!

 And here is my card:

I colored her with various inks, chalks and markers.  (I'm still new to using digi stamps and hope to get some cool markers to play with).  What would you recommend I purchase?  Oh yeah, I also gave her a pink stripe in her hair because if I could, I would!
Of course I also used my Amazing Casting Products to mold my gears and added a bit of bling to them and also colored them with alcohol inks.


Here is a closeup.  I also used the Sizzex folder to create the background that I embossed with my cuddlebug on metal tape and then colored with alcohol inks in pink, purple and green.  I love this technique.  Then I pop dotted Mona Steampunk Ethereal Enchantress to the card base so that she became the focal of the card.  I did not add a sentiment this time because this card could mean anything to anybody.  
I love the grunge look of this card.

I hope you've enjoyed my card and please hop over to Get Creative Challenge blog and join us!  Remember though, you must use the colors Pink, Purple and Green on your project.

As always, have a great day and God Bless.
Sunday, April 19, 2015

"Fools Gold" at Anything but a Card Challenge 46

Good morning and happy Sunday to you all.

It's Week 3 at Anything But a Card and I'm so excited to share my project.  This month's challenge is "Fools Gold" and I've been wanting to frame a picture of my daughter and my grandbabies that we took at Easter but I just haven't found a picture frame that I really liked until ....

Well, this is what I used and created.  Please follow my tutorial

I had on hand a lightweight wooden picture frame I got at Michaels.  Some silver duct tape from the hardware store that is never ending.  Some scrap pieces of card stock left over from another project and a ruler.  You will also need acrylic paint, alcohol inks and double sided tape.

First I painted the edges of my picture frame in black.  No need to paint the entire thing as it will be covered.  While that was drying ...

... I taped the silver duct tape to my card stock and ran it through my cuddlebug.  I used 2 different folders and because the pieces are larger than my cuddle bug folders I ran it through in one direction and flipped it and ran it through again.  With the folders I used there is no need for precision.

I glued the pieces onto my picture frame with double sided tape.  (sorry for the glare)

See the awesome detail

Then I went over the top with Gold Alcohol ink.

I wanted to make it look somewhat antiquey so I painted black acrylic paint over the top and wiped it off with a dry rag.

Here is a closeup 

You can find these kind of frames using real metal but 
I prefer the faux metal look and it so LIGHT WEIGHT.  
My frame is ready for my picture to get printed

Aren't they just so sweet?

I hope I've inspired you to create a faux metal frame and please join us over at Anything but a Card with your "Fools Gold" challenge.  Remember, there are only 3 rules.

1.  Make ANYTHING BUT A CARD
2.  Use the theme "FOOLS GOLD"
3.  Most important HAVE FUN!

Until next time, have a great day and God Bless.


Sunday, May 25, 2014

Bird of Paradise Tile

Good morning crafters,

Today I am here to show you a tile I made by experimenting.  I've been playing with a few products and created this:

I started out with some Creative Paperclay and a wood tile. 
Cutting around the wooden tile I cut out paperclay and although it's an air dry clay I baked it for about half and hour turning it every 7 minutes of so to get a nice even bake.  I use a small toaster oven to bake all my clay and never use it for anything else. 
I still had a little bit of this gorgeous paper left over from my April Frog Dog Studio kit and decided to "muddy" it up a bit using some alcohol inks. 
I also used some Alumilte Silver Metalic Powder and Alumidust in Orange and created a spray mist.
Here is what the tile looks like after mod podging the paper to it. 
You can still see some of the original paper, but I did want just a hint of the details.  Once I got the color I wanted I modpodged the paper to the tile and sanded around the edges.  Then I took my orange ink pad and ran that around the edges to give it almost a burnt look.
Now, I mixed up the Amazing Clear Cast resin and painted it over my tile.  Then I mixed a bit of the Alumilite Blue Dye into the remaining clear cast resin and puddled it around the top of my tile and "blew" it with my heat gun.  It gave it some interesting detail.  I sprinkled some orange glitter in the blue area just for bling. 
I used up the rest of the clear cast resin with the Alumilite blue dye to cast my bird of paradise also from the April Frog Dog Studio kit and I created a mold of it using my Amazing mold putty.  Actually, if you missed that post, you can see it here.
After she was set up, I demolded her and glued her to my tile 
I added a pop tab to the back of my tile as my hanger and now I have a very unique tile to hand in my bathroom just because that color palette will work there very well. 

Thanks for stopping by today and as always, have a great day and God Bless!

Sunday, May 18, 2014

Sun Tile ABAC Challenge 35

Good morning friends,

It's the third Sunday in May and you know what that means?  It's my turn to show off another creation for Anything But a Card challenge blog.  I'm so thankful for having the opportunity to play along over there.  Although my main goal for joining ABAC was to start scrapbooking again, thus far I haven't even come close to doing that.  This week's challenge proved to be a challenge for me as it is a color challenge and this is what we were given:


Now, I wasn't sure how to incorporate all these colors into one theme, but by playing around I think I nailed it.  I really honestly did not know if this was going to turn out and I literally just played around.
I started with my Creative Paperclay and rolled it out to a quarter of an inch thick and using a wooden block tile I cut my clay.


Although the paperclay is an air dry clay I wanted to start working on my project now and baked it.  I used my little toaster oven that I ONLY use for baking my clay.  I baked this piece for probably half an hour turning it every 7 minutes or so so that I got a good dry bake. 
Once it was baked I pulled out my alcohol inks and an orange ink pad and started to go to town.  I rubbed my inkpad in orange all over the tile first and then went back with the eggplant and wild plum alcohol inks.  Over and over and over until I though I had the correct color palette 
What do you think? 
Now I wanted shimmer, so I mixed up the Alumidust Orange with the Alumilite Metalic Silver Powder and some water and created my own mist.  LOVE these products for sure. 
Now the tile was missing something, so I again mixed up the Alumidust Orange with some Super thick embossing powder in clear.
I stamped my image of the sun with the perfect medium and sprinkled my homemade "colored" embossing powder over it.  Looks pretty good huh? 
Well, after I embossed it, it failed.  In hindsight I think I should NOT have used the ultra thick embossing powder.  It kinda ran together and didn't give "real" detail.  Now I had come so far with a perfect color palette I didn't want this tile to go to waste, so experimenting, I pulled out my Blue Hawaii Stazon and stamped the image over the embossing.  PERFECT! 
Seriously, this picture gives it NO justice.   
Then I used my Amazing Clear Cast resin and painted a thin layer over the tile to seal it and give it some gloss!  I really do believe this is one of my favorite pieces thus far! 
Now I need a hanger for my tile, and because I so believe in recycling and because the tile is so lightweight  I was able to hot glue a pop tab to the backside (see I even burned my tile a little) and now I have a finished wall hanging. 
I truly believe I nailed that color palette to a T and it all came together by experimenting.
I hope I've inspired you to use this color palette and join us over at ABAC.  Remember, there are only three rules to play along.  You must use the color palette, you can create anything but a card and just have fun!

Until next time, have a great day and God Bless!


Sunday, March 23, 2014

Mini challenge at ABAC

Good afternoon

I saw that Anything But a Card had a mini challenge up today and I couldn't wait to play along.  Today's challenge is using 2 or more stencils.  I, however, do not own any stencils.  Weird actually since I seem to have everything else.  I guess I take that back I do own a couple brass stencils, but really have never used them.  I decided today was the day, since I'm trying to branch out a bit again.

I wondered what would happen if I incorporated my stencil and my Amazing Casting Resin.  You do know how I love to experiment.  So off to the races we go...

I spread out some of my resin onto baker's paper.  I do not own one of those fancy Teflon sheets, but this works just as well.  
Now, normally this resin sets up within 5 to 10 minutes, but when you 
spread it out like this it takes a bit longer.  Therefore, I was able to 
prepare my brass stencil with petroleum jelly (vaseline).  I coated both
sides of the stencil because I had no idea what would happen  
you can tell when your resin starts setting up, because it starts to turn milky.  
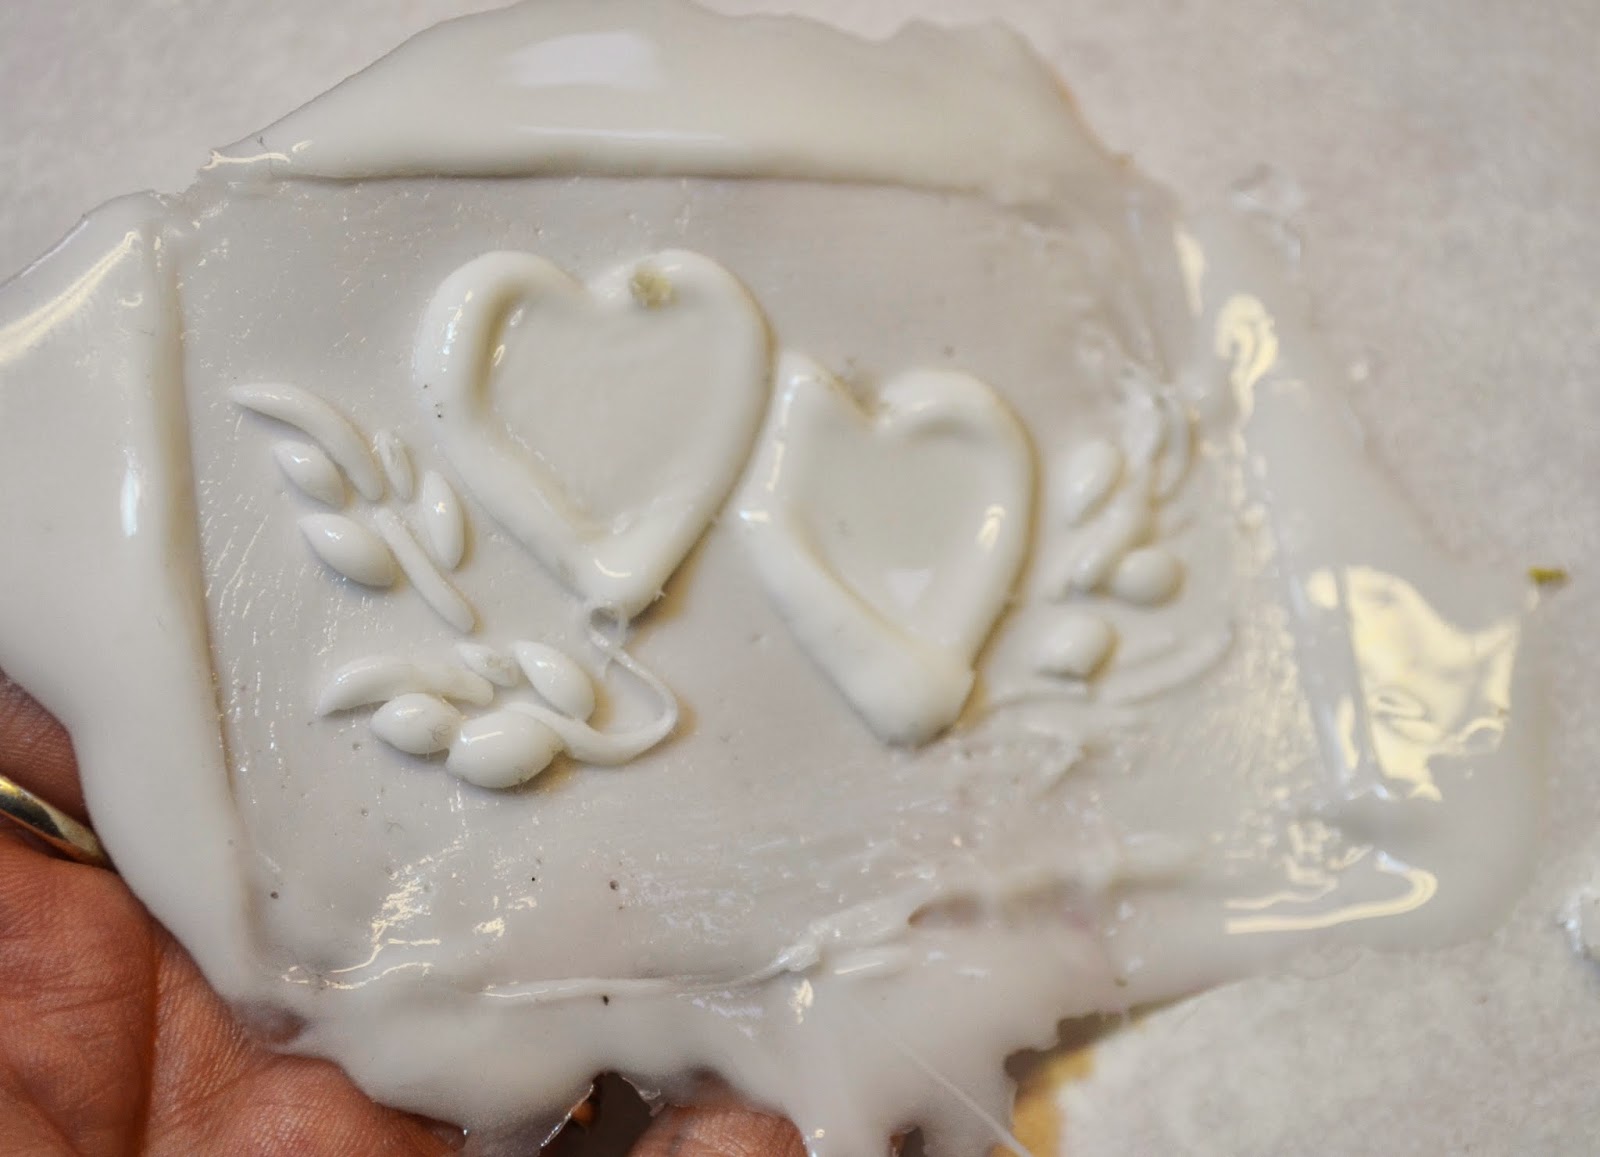
When I saw it do that I laid my stencil directly into the resin and pushed it in. 
Once the resin had set for a bit I pulled my stencil up and some of it came up with the stencil,
but overall I am pretty happy with the outcome. 
Here is my resin piece.  
See how pliable it still is? 
I just trimmed off around that main piece with my scissors.  
Before the resin really has time to set up, scissors work fabulously. 
Then using some alcohol inks, I started working on painting my piece.
Alcohol inks take very well to the resin.
I love the look of this...very antique like.
Now, this challenge calls for 2 or more stencils,
but like I said, I don't own any "normal" stencils.
I decided to create my own for some etching.
I cut this flourish out with my cricut on some vinyl scrap. 
and attached it to my bottle.
it really doesn't have to be perfect as long as you get the pieces
stuck down that matter the most and be careful that you get it all stuck down.
Sometimes the etching cream will "seep" into tiny crevices.
and now for some etching.  I haven't used my etching cream in forever
and wasn't sure it was still good before even starting this project. 
Paint your etching cream fairly thick onto your vinyl and let it sit for about 10 minutes 
I usually scrape the rest right back into my bottle.  I'm frugal like that
and then run it under warm water and pull your vinyl off.  Now, you won't
be able to reuse that particular piece of vinyl. 
but the etching is wonderful.  I guess my etching cream was still good!
I applied some E6000 to my resin piece and centered it under
the flourish etching.
Then I "taped" it down with some bingo tape (like painters tape) to keep it in place. 
and now I have a mini wine bottle turned into a beautiful vase.
I glued some pink ribbon around the top of the bottle and attached a brad.
Adding some pink flowers completes it.
I absolutely love how this turned out. 
Now I may not have use traditional stencils for this project,
but sometimes you just have to come up with your own when 
you don't have the right stuff.
Experimenting is good!

I hope you've enjoyed my little project today and I can't wait 
to see what the next challenge will be over at ABAC.

As always, have a great day and God Bless.