Followers

Showing posts with label E6000. Show all posts

Friday, January 15, 2016

Toasting the New Year's Party with a Wine Themed set of Earrings and new design team!


Good day friends and Happy New Year! I am so excited to tell you about a new design team I am on!  YEAH!

I've been on the design team over at Get Creative Challenge and am having a wonderful time coloring digi images.  Angie is also running the Simply Create Too blog and I am one of the newest members over there now also.  I'm really excited about designing with these fabulous ladies because I get to make whatever I want to as long as I follow the theme!  YEAH!

This month's theme is PARTY TIME challenge #100 and thus I created some wonderful earrings that I wore on New Year's Eve.  

As some of you know I work in a wine store and I get asked over and over if we have any jewelry with a Wine motif. My boss just isn't into stuff like that – so I decided I wanted a pair of earrings to wear for New Years Eve and I wanted them to have a wine motif.

So let's get started!


I started out by cutting a wine bottle and glass shape {welded with my Cricut} out of some cereal boxes! I love to upcycle. I cut the pieces 14 times because I wasn't sure how thick I wanted the glued together pieces to be.


Here are my Cricut cuts and I used 5 of them to get the desired thickness.


Then I mixed up a batch of the Amazing Mold Putty – you can view mixing preparations HERE. I sprayed some UMR Mold Release onto the mold putty before pressing the chipboard into it because I did not want the chipboard to stick to it.


The mold came out beautifully!


Next I brushed some Lt. Green Alumidust where the bottle would be and left an area open where I think the glasses would be. I then mixed up some Amazing Clear Cast Resin {and you can watch a video tutorial HERE} because I wanted the "glasses" to be see through.


So far so good... I then took a silver paint pen and highlighted around the bottle, put a stopper on the top and edged around the wine glass area.


I added some seed beads with E6000® and used
a red paint pen to add some color to the bottle.


Attached some jewelry findings with E6000® 
and I was ready for New Years Eve!


I absolutely love my new earrings created just in time for the Party!
If you are going to CHA you might even see my cuts being used!

Now I hope you've enjoyed my post and my first project for Simply Create Too!

Make sure you follow the theme and join in some fun over there.

Friday, October 16, 2015

#Cre8time Amazing Casting Products Collage

Good morning friends,

As all of you know I am a designer over at Amazing Mold Putty and I absolutely love it.  I have created so many molds and therefore I have a gazillion pieces that are filling a huge box.  You see when I am creating I seem to over mix my resin and since I won't waste anything, I pour extra molds.

The other day I was looking for inspiration with the things I already have and had a brilliant idea.  I mixed up some Amazing Casting Resin with some Gold Alumidust and spread it on a piece of wood.  I got a package of these blanks at Hobby Lobby awhile back and they don't seem to go away.


Then I placed a flat mold of some gears I had a made on top of it,
held it down for a few minutes and it give it some texture, because I love texture.


After that was set I used ink pads and more Alumidusts and even some glitter to distress the color a bit.
And of course I forgot to take a picture of that.

Going through my stash I found a bunch of pieces that I had created and adhered them onto the colored piece with E6000 and created a beautiful and fun collage piece.  Some of the pieces where painted, colored with Alumilite Dyes or Alumidusts or inked up in some way.


I absolutely love the way this collage piece turned out.  I think I will make a few more.

I hope you've enjoyed my tutorial today and hope to see you soon again!

Here's another one I made.  LOVE the colors


As always, have a great day and God Bless.

Thursday, August 13, 2015

Welcome any time of the year Sign

Good morning friends,

I just wanted to share a quicky sign I made.

I saw something similar on Pintrest and wanted to try it.

I got these boards at my local craft store on clearance
and drilled holes with my dremel approximately 1.5 inches apart. 


Then I glued a pop tab to the back of the board with my trusty E6000 glue!


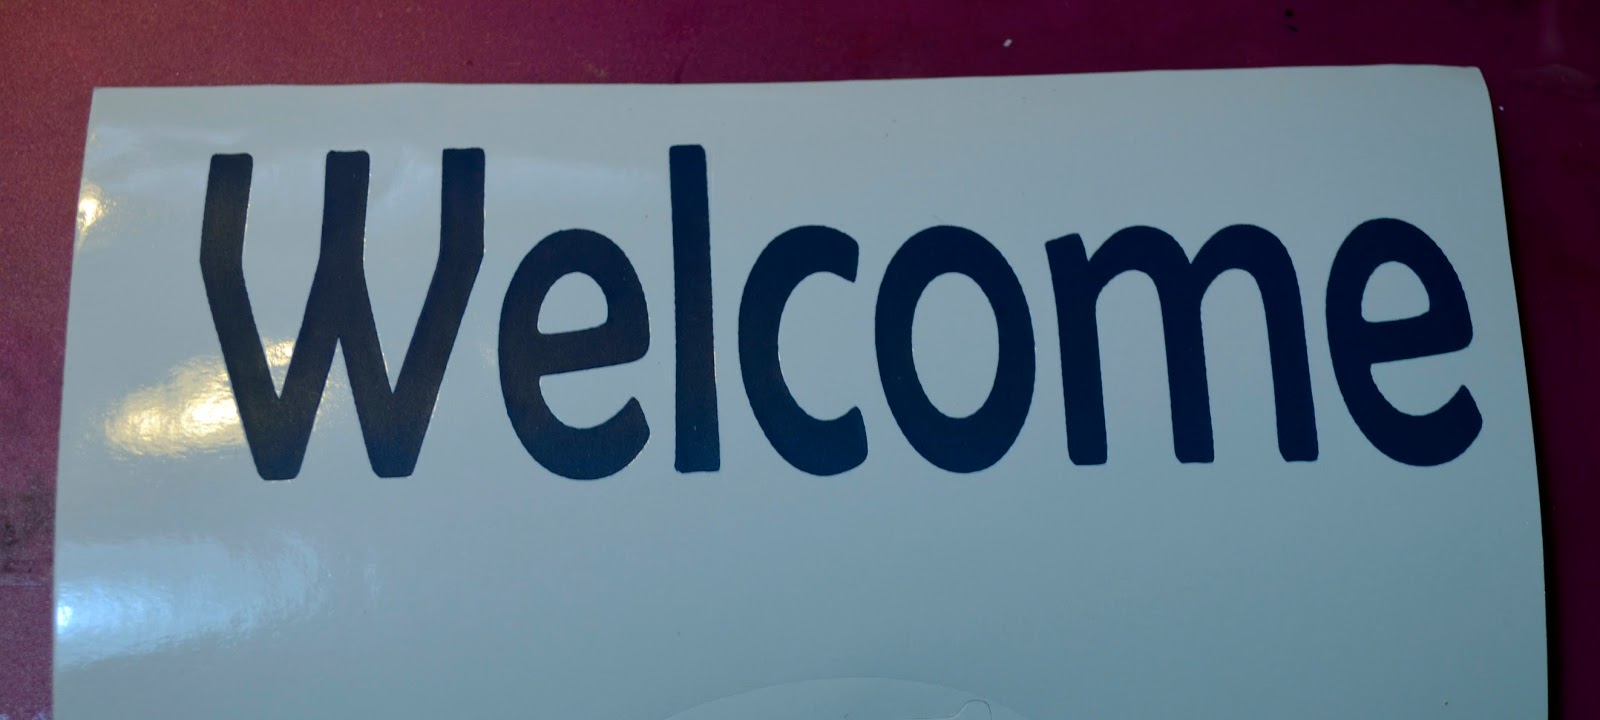
While that was setting up I cut Welcome with my cricut on blue vinyl.


Using and old room key I burnished the transfer paper to the vinyl,


and then burnished that to the board itself.


Then again using my cricut I cut 12 tags of this shiny blue cardstock


and some season pictures out of white vinyl.


And here is my quicky sign.


Fall


Winter


Spring


and Summer.

I hope you've enjoyed the sign I made.  Remember, not everything has to be complicated to make!

As always, have a great day and God Bless.

Sunday, May 17, 2015

The Master's (magnets) at Anything but a Card Challenge #47


Good morning friends,

Welcome to another installation of Anything But a Card Challenge #47.  This month's challenge is all about the Masters!  When I first read that I got excited because I thought we were doing a challenge about Golf, you know the Master's Tournament.  Yeah, I got Golf on the brain because the season has begun!  Well, it wasn't so, instead we were to create something from the Master "Artists" as inspiration.  Oi, I cannot paint and got stuck on that idea, so I was having a hard time with this challenge.  I voiced my expression in the group and a team mate came to the rescue.  Thanks Elaine!  She provided me with this picture from Picasso 

and with that, a project was born.  Let's get started:

Now you all know I love creating with the Amazing Casting Products and with that being said I have lots and lots of resin pieces, but I also have just as much resin paper so to say.  When I over mix my Amazing Casting Resin I create extra resin pieces, but sometimes I just create resin paper.  You can mix up your resin and pour it out on some bakers paper in a thin layer and let it harden, or if I've over poured a mold I save the drippings.  So much fun!


Here is a picture of my many different pieces.


I found some white that was created by mixing the Amazing Casting Resin Part A and B.  There are some splotches of other stuff, I think a bit of glitter,but that won't hinder this project.


If the layer of resin is thin you can cut it with an ordinary pair of scissors.  
I cut out a square shape and rounded the corners.  I used the other side of the glittery piece.


Using an ordinary pencil I drew (doodled) directly on my resin piece.
See the colors on the piece, doesn't matter?


Then I grabbed my Sharpies to add some color ...


and colored my piece.  Cute, huh?


Now I mixed up my Amazing Clear Cast Resin and let it sit for a couple minutes to get all the air bubbles out.  Don't worry about getting them ALL out.  


Then I placed my resin piece onto my homemade doming board and 
poured the Amazing Clear Cast resin over the top and domed it.  
If you still have air bubbles, you can use your heat gun or blow on them to pop them.


Now I let that set up for a couple of hours.  Depending on the humidity and the depth of the resin,  it can take anywhere from 2 to 24 hours to set up.


Next step is to create my magnets.


Once my resin pieces were set up, I recycled (love recycling) 
an old magnet sheet by tracing my resin piece and cutting it out.


I applied a bit of E6000 to the back of my resin piece and a bit to my magnets and pressed them together.
I let them set up for about 4 hours before putting them onto my refrigerator.


Pretty cool huh?


Here is a nice closeup shot of the better of the two magnets.


You can see that the square magnet I created ran a bit.  I didn't let the sharpie dry completely.  You can always heat set your piece before adding your Amazing Clear Cast Resin.  The rectangle magnet turned our perfect though.  I just love my Picasso imitations!

I hope you will hop on over to Anything But a Card and join in on our challenge.  There are only 3 rules.

1.  Make ANYTHING BUT A CARD
2.  Use the theme "MASTERS"
3.  Most important HAVE FUN!

Until next time, have a great day and God Bless.


Wednesday, October 1, 2014

Flat bone failure to Amazing Plate

Good morning friends

Remember my post from a couple of weeks back over at Amazing Mold Putty of my bone necklace.  You can view it HERE if you missed it.  Remember also how I said that the necklace was a failure because they didn't lay right since they had a flat surface?  Well, I fixed that by rebuilding.

 I started out with a skull that I purchased last year after Halloween.  It was on clearance (as if I ever pay full price for anything) because it didn't work.  But I knew I would be using these skulls for something.  Of course my Amazing Mold Putty comes in handy for this project.
I molded the skull with the mold putty
I drew a line in the mold with a a sharpie so all of my skulls would be the same height
And poured some with Amazing Casting Resin with Black Alumilite Dye
and some just white 
I glued all my cured pieces onto a charger with E6000 and I wanted to make the center of the plate a chalkboard 
I also rubbed some vaseline here and there which will allow my to rub off the paint in certain areas easily 
After the pieces were all glued down and cured I proceeded to paint the charger with the chalkboard paint.
Believe it or not, I added at LEAST 8 coats of the chalkboard paint and it still wouldn't take the chalk on.  I'm not sure what went wrong or why it happened, but I could not get my chalk to write on the charger.  I got pretty disgusted and was about to throw in the towel, when I came up with another solution...VINYL!  Duh!!! 

Since I was giving this as a gift to my tattoo artist, I pulled up his business card, 
imported it into my SCAL and had an exact match of lettering
I love how the red strikes onto that black charger.
You can also see where the vaseline rubbed the paint off nicely.  
I even "scratched" some areas, just to rough it up a bit more!
My tattoo artist LOVES it!  In fact, even his boss liked it and took the plate from him and displayed 
it in the front of the store on a shelf and said Jason could "visit" it anytime he wanted.

So, see, even if something doesn't work out there is always a solution to recreate an idea.

I hope you liked my post today and hope to see you again real soon.

As always, have a great day and God Bless!